

Infinite Uploads gives you two features that work independently: cloud storage with CDN delivery for your Media Library, and the Video Cloud for hosting, transcoding, and streaming your videos. You can turn on video hosting by itself and leave your Media Library right where it is. This document covers that setup path.
The Two Switches
Connecting your site to Infinite Uploads does not move a single file on its own. After you connect, the plugin shows two cards side by side, and each one has its own switch:
- Cloud Storage & CDN. The Sync Now button copies your Media Library to the cloud, and the Enable button that follows starts serving those files from our CDN. If you never click Sync Now, nothing in your uploads folder is touched.
- Video Cloud. The Enable Video Cloud button creates your cloud video library. Videos you upload there are transcoded into multiple resolutions and streamed from our global network, entirely separately from your Media Library.
The storage card says as much right on screen: "Optionally move your media library to the Infinite Uploads cloud and serve via our CDN." For a video only setup, you skip that half.
Note: The Video Cloud is included with your Infinite Uploads storage plan, so you still need a connected account (a free trial counts) to enable it.
Install and Connect Your Site
- From your WordPress Dashboard, go to Plugins > Add New, search for Infinite Uploads, then click Install Now and Activate.
- Open the Infinite Uploads menu in your Dashboard sidebar.
- On the Infinite Uploads Setup screen, click Run Scan.
The scan only reads your uploads folder and builds an inventory so we can recommend the right plan. It does not move, copy, or change any of your files. When it finishes you land on the Local File Overview screen with a Ready to Connect! panel beside it.
- Click Connect.
- Create a new Infinite Uploads account or log in to an existing one, create a library for this site, and choose your storage region (United States or Europe (Germany)).
For the full walkthrough of account creation, libraries, and regions, see Connecting and Configuring the Infinite Uploads Plugin.
Skip the Sync
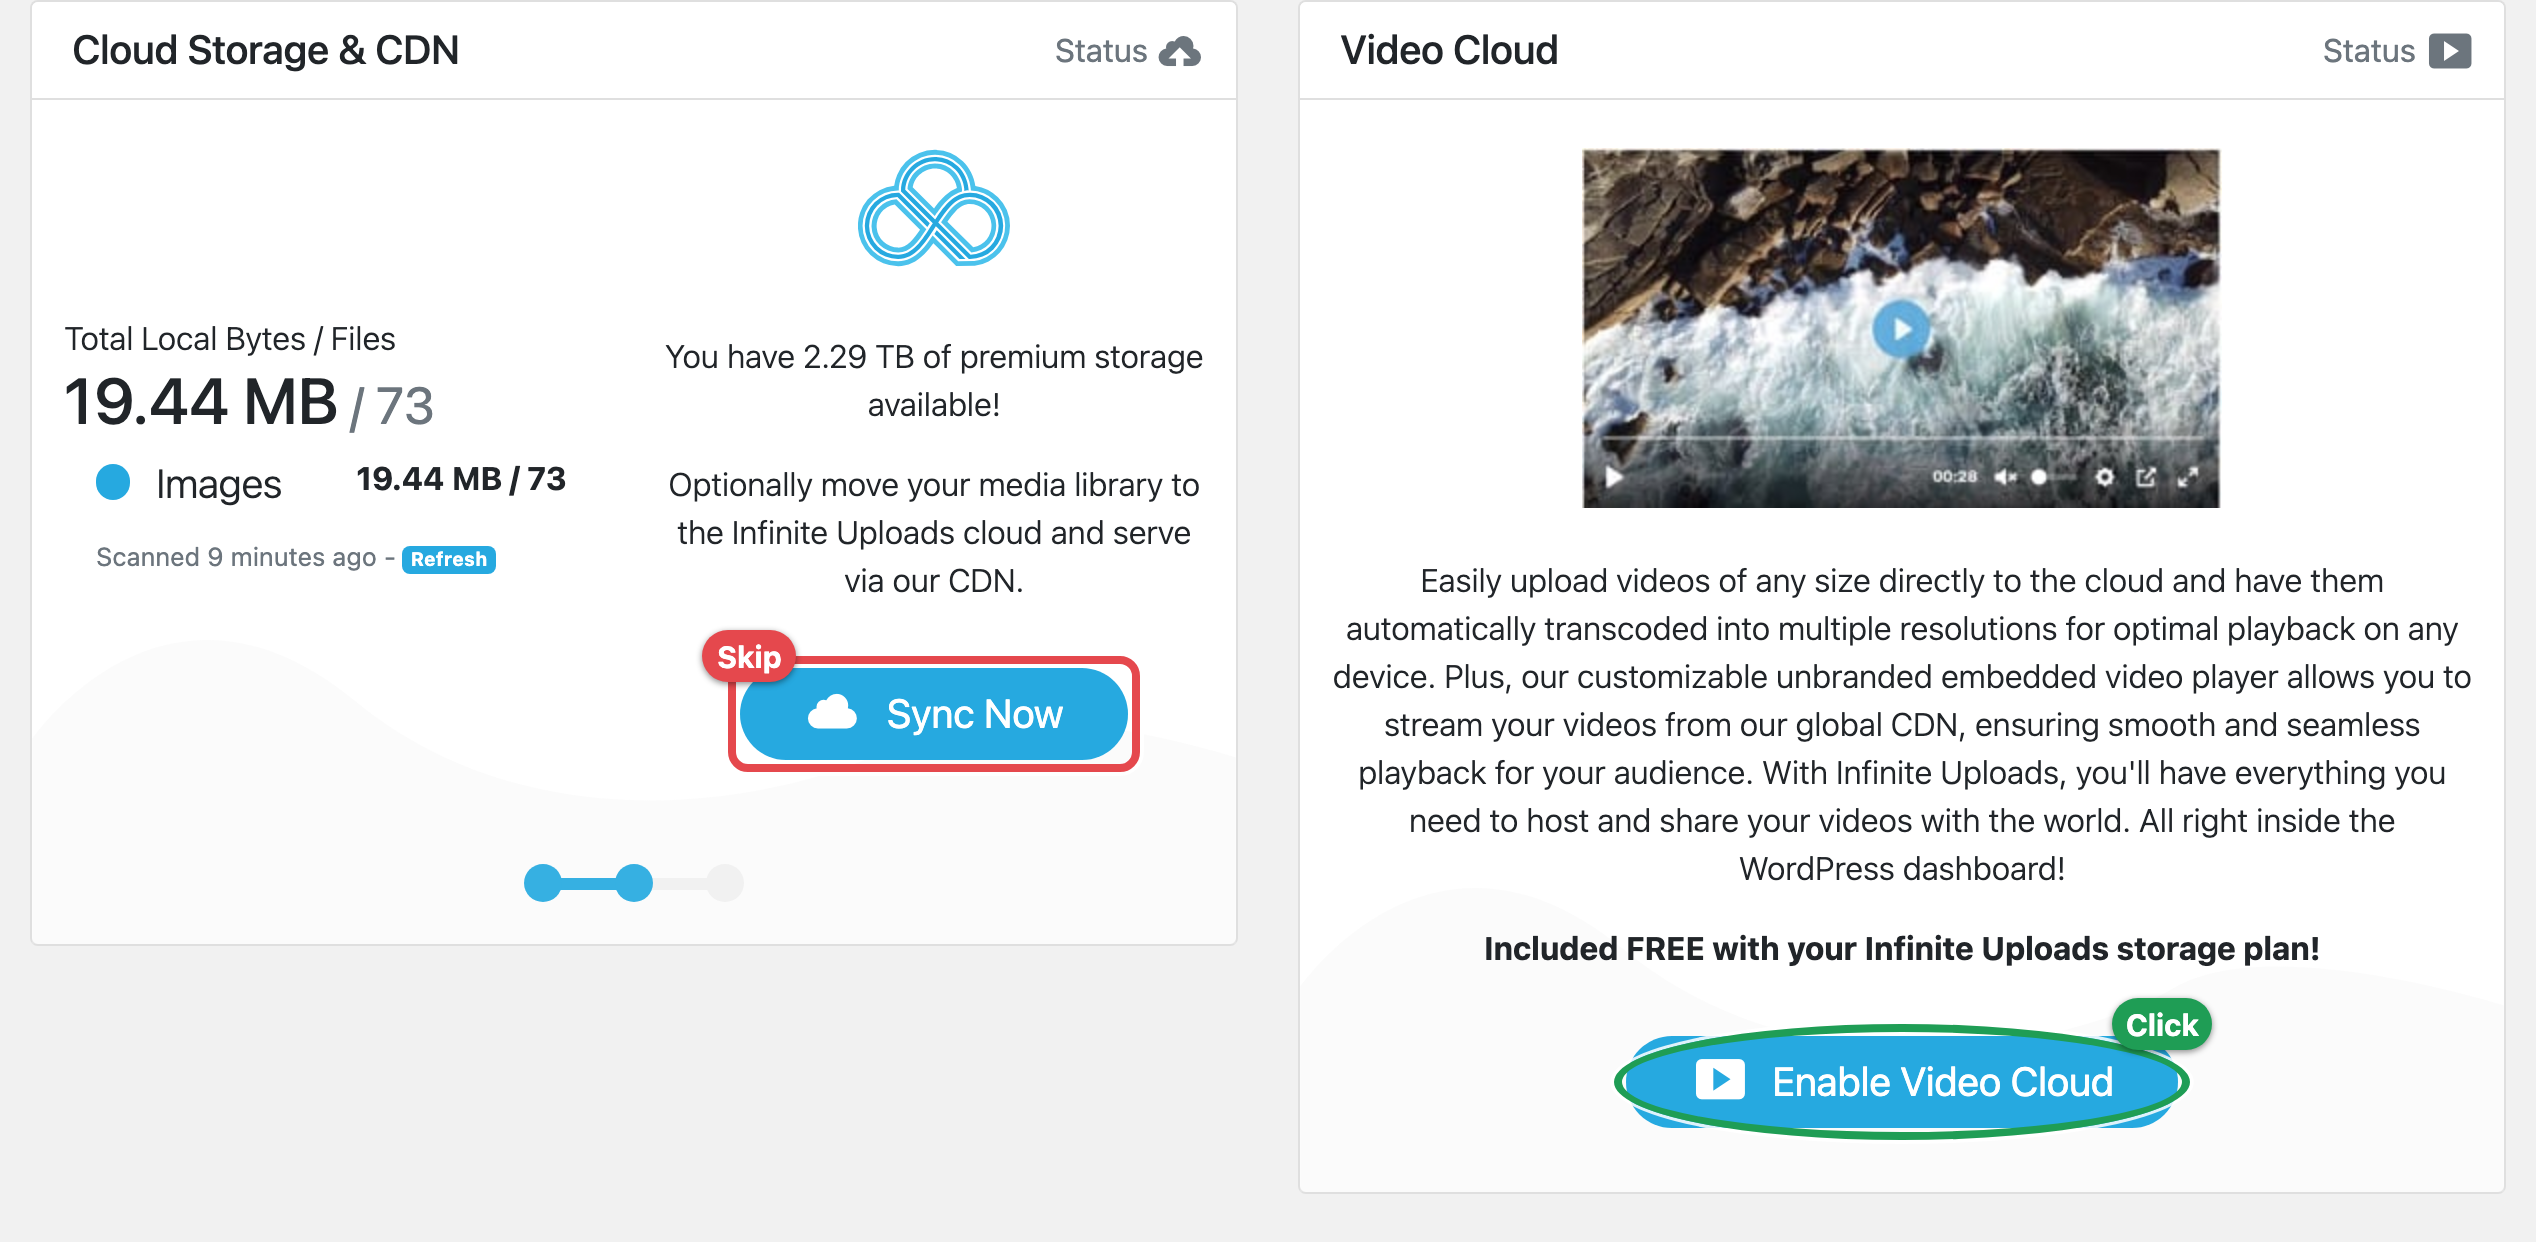
Once your site is connected, the Infinite Uploads screen shows the Cloud Storage & CDN card on the left with a Sync Now button on it.
Leave it alone. Do not click Sync Now.
That card will keep showing a Status of Disabled - waiting to sync media to the cloud for as long as you use video only, and that is exactly right. Nothing is broken and nothing is stuck. Your Media Library keeps serving files from your own server at your own domain, just as it did before you installed the plugin.
Enable Video Cloud
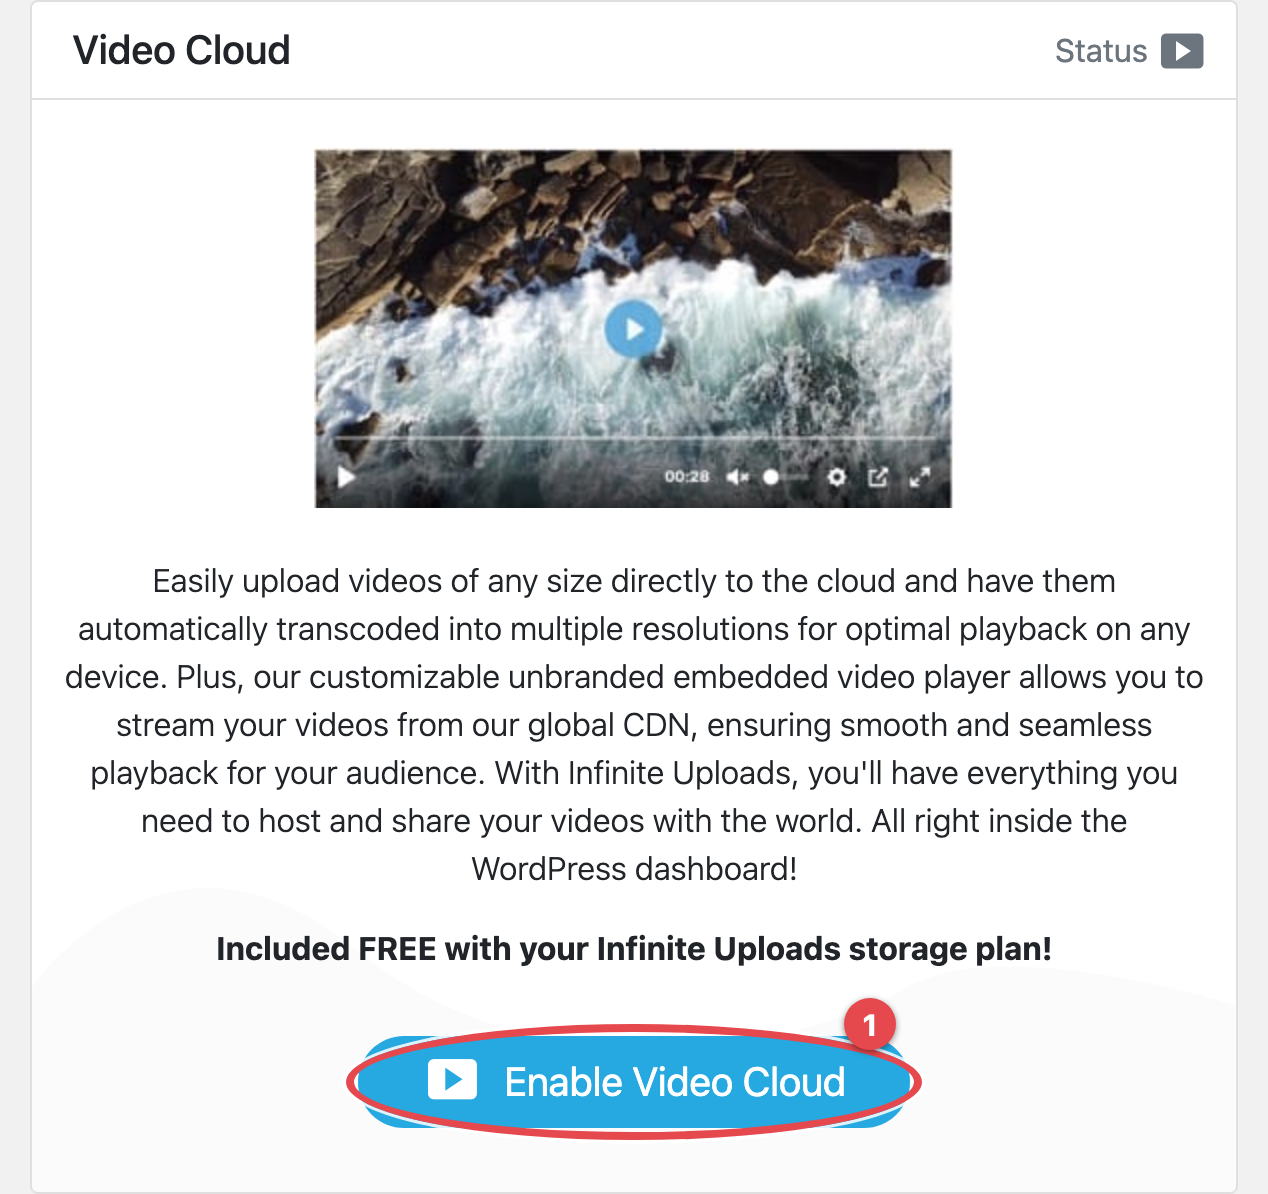
On the right side of that same screen is the Video Cloud card.
- Click Enable Video Cloud.
- Wait a few seconds while we create your cloud video library.
That's it. The card becomes Video Cloud Overview, showing your Video Count, Video Storage, and Video Bandwidth, plus a Video Library button and a Settings button. The Status icon in the card header now reads "Enabled", and two new menu items appear: Media > Video Library and Infinite Uploads > Video Cloud.
Remember: enabling the Video Cloud is the only step you need. There is no sync to run for video, because videos upload straight to the cloud.
Upload and Embed Your Videos
Uploading to the Video Library
Go to Media > Video Library and click Upload Videos, then drop your files onto the upload area or click browse files.

Videos upload from your browser directly to the cloud, so they never pass through your web server. Your PHP upload limit, your post_max_size, and your host's request timeouts do not apply, and an interrupted upload resumes instead of starting over. Each video then moves through Uploaded, Processing, Transcoding, and Finished as it is encoded.
Note: Upload videos through Media > Video Library, not Media > Add New. Anything you add to the regular Media Library stays on your own server, because you have not turned on Cloud Storage & CDN.
Embedding a video
There are two ways to put a video on a page:
- The Gutenberg block. In the editor, add the Infinite Uploads Video block, then upload a new video or select one from your library.
- The shortcode. Use
[infinite-uploads-vid id="VIDEO-ID"], with optionalautoplay,loop, andmutedattributes.
Adjusting the player and encoding
Go to Infinite Uploads > Video Cloud to choose your Player version, set your Main Player Color, Player Language, and which Player Controls appear, to turn on Enable Direct Play, and to choose your Enabled Resolutions under the Encoding tab. Click Save Settings when you are done. Encoding settings apply to videos you upload from that point on.
The Player version setting offers Player v2 (recommended) and Player v1 (legacy). New video libraries start on Player v2. If your library was created earlier, it stays on Player v1 until you switch it, and on December 1, 2026 we move any remaining Player v1 libraries to Player v2 automatically. Switching updates every video you have already embedded, with no need to re-save your pages.

Our Video Transcoding with Infinite Uploads guide covers the player, resolutions, and embedding options in detail.
What Stays on Your Server
With video only enabled, here is exactly where everything lives:
- Your Media Library is untouched. Images, PDFs, and every other upload stay in
wp-content/uploadsand are served from your own domain. - No URL rewriting happens. The plugin only rewrites media URLs after you sync your library and click Enable on the storage card, so your existing image URLs never change.
- Your videos live only in the cloud. Anything uploaded to the Video Library is stored in your Infinite Uploads video library, not in
wp-content/uploads. Keep your own master copies of the source files. - Your team can still upload video. The Media > Video Library page requires only the
upload_filescapability, so Editors and Authors can add videos without access to the Infinite Uploads settings screen, which requiresmanage_options.
Adding Storage and CDN Later
Choosing video only today does not lock you out of the storage half. Whenever you are ready, go back to the Infinite Uploads screen, click Sync Now on the Cloud Storage & CDN card, let the sync finish, and click Enable in the confirmation window. Your Video Cloud keeps working right through it, and your videos are unaffected. See How long will it take to initially sync my files to plan that step.
How can I verify it is working?
There are two ways to confirm your videos are streaming from Infinite Uploads while your Media Library is still served locally.
From the WordPress Dashboard:
Go to Media > Video Library and confirm your video is listed with a status of Finished. Then go to Media > Library and click on an existing image to open the Attachment detail module. The File URL should still be on your own domain, something like https://yoursitename.com/wp-content/uploads/, and not an infiniteuploads.cloud url. That is your confirmation that offloading is off.
Using the browser's built-in developer inspect tools:
Visit the page with your embedded video on the front end of your site, right-click the video, and select inspect. The player is an iframe served from https://player.mediadelivery.net/embed/ (or https://iframe.mediadelivery.net/embed/ if your library is still on Player v1). Right-click an image on the same page and inspect it, and you will see it is still being served from your own domain.