

Most sites never need this, but if you have a specific image that must be delivered exactly as you uploaded it, the Exclusions field lets you tell Infinite Uploads to skip optimizing it. Excluded images are always delivered as their original file.
When you might use it
- A logo or brand asset that must be pixel-exact.
- A screenshot or diagram with fine text where any compression softening isn't acceptable.
- A downloadable or print image you want served untouched.
If you don't have a case like this, leave Exclusions blank. The whole library benefits from optimization.
How to add exclusions
In the Image Optimization section, type your entries into the Exclusions box, one per line, then click Save Settings.
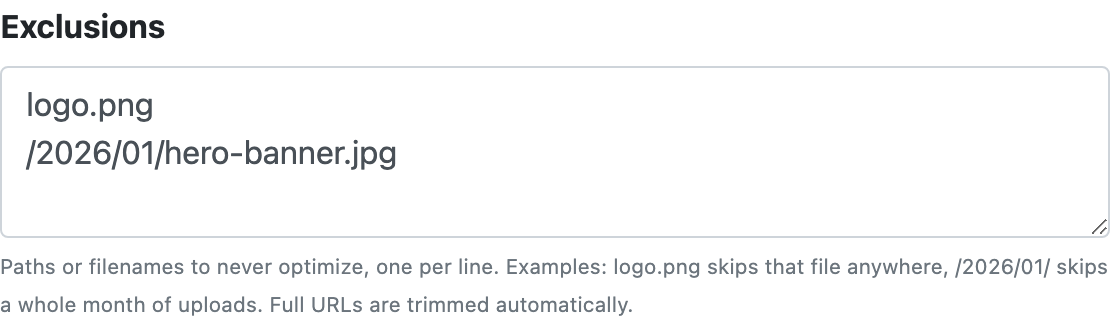
You can match in two ways:
- By filename: enter
logo.pngto skip that file anywhere in your library. - By path: enter a folder fragment like
/2026/01/to skip everything uploaded in that month, or/brand/to skip a folder.
Examples:
logo.png: never optimize any file namedlogo.png.hero-print.jpg: skip one specific file./2026/01/: skip every image uploaded in January 2026.
Note: You can paste a full image URL and we'll trim it down for you automatically:
https://xxxxx.infiniteuploads.cloud/2026/01/logo.pngis stored and matched as/2026/01/logo.png. Match is case-insensitive and checks whether the entry appears anywhere in the image's path, so keep entries specific enough to only catch what you intend.
How can I verify an image is excluded?
Visit the front end, right-click the excluded image, and choose Inspect. In the Network panel, reload and click the image request. The response Content-Type should be the original image/jpeg or image/png (not image/avif or image/webp), confirming it's being delivered untouched.
Note: If you added an exclusion but still see a next-gen format, the previously optimized copy may still be cached. Use the Purge CDN Cache button to clear it, then re-check. See Purging the CDN cache.