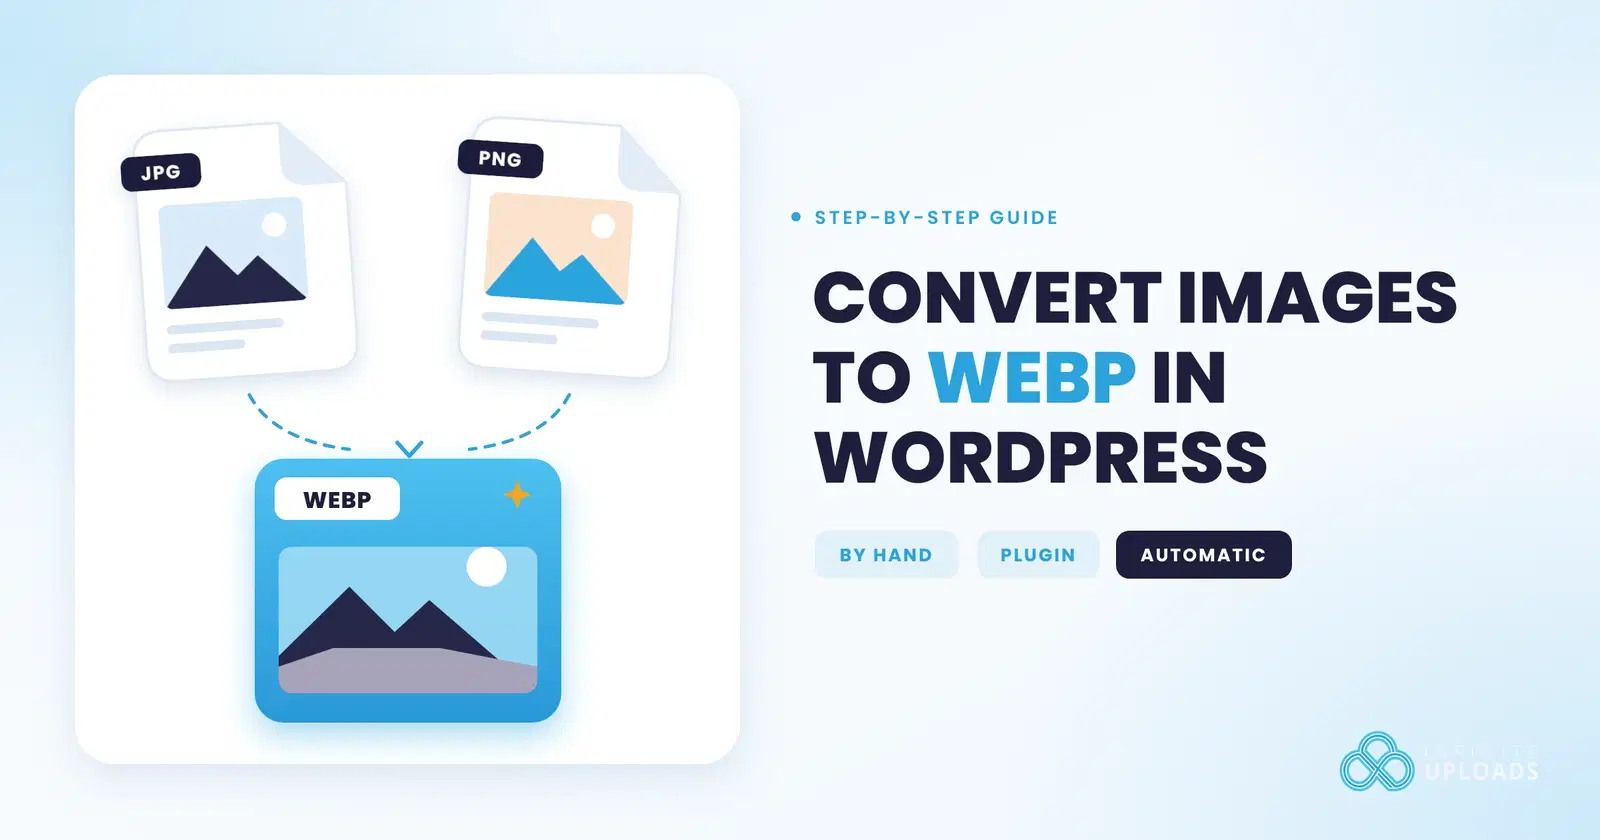
You can convert an image to WebP in WordPress four ways. Export it as WebP before you upload. Add one small filter so WordPress makes WebP versions itself. Install a free plugin. Or let your CDN convert and serve WebP automatically, with your originals left alone.
I'll walk through each one with real steps, then show you how to check it actually worked. Most guides skip that part, and it's where most sites quietly fail.
The quick answer
- A handful of images: convert them on your computer first, then upload the .webp files. WordPress has accepted WebP uploads since 5.8.
- Every new upload, no plugin: use the core
image_editor_output_formatfilter so WordPress saves JPEG and PNG sizes as WebP. - Every new upload, with settings: the free Modern Image Formats plugin from the WordPress Performance Team.
- Old and new images, no regenerating, AVIF too: convert on delivery. It's the simplest and quickest option, it puts no strain on your server, and it's what Infinite Uploads Image Optimization does on the Business plan.
Before you start: check your server can make WebP
WordPress doesn't encode images itself. It hands the job to your server's image library, Imagick or GD, and WebP only works if that library supports it. The WordPress 5.8 WebP announcement says exactly that. Checking takes 30 seconds.
- In your dashboard, go to Tools > Site Health.
- Click the Info tab.
- Open the Media Handling section.
- Look at Active editor, then find WEBP in the supported formats list for that editor (ImageMagick or GD).
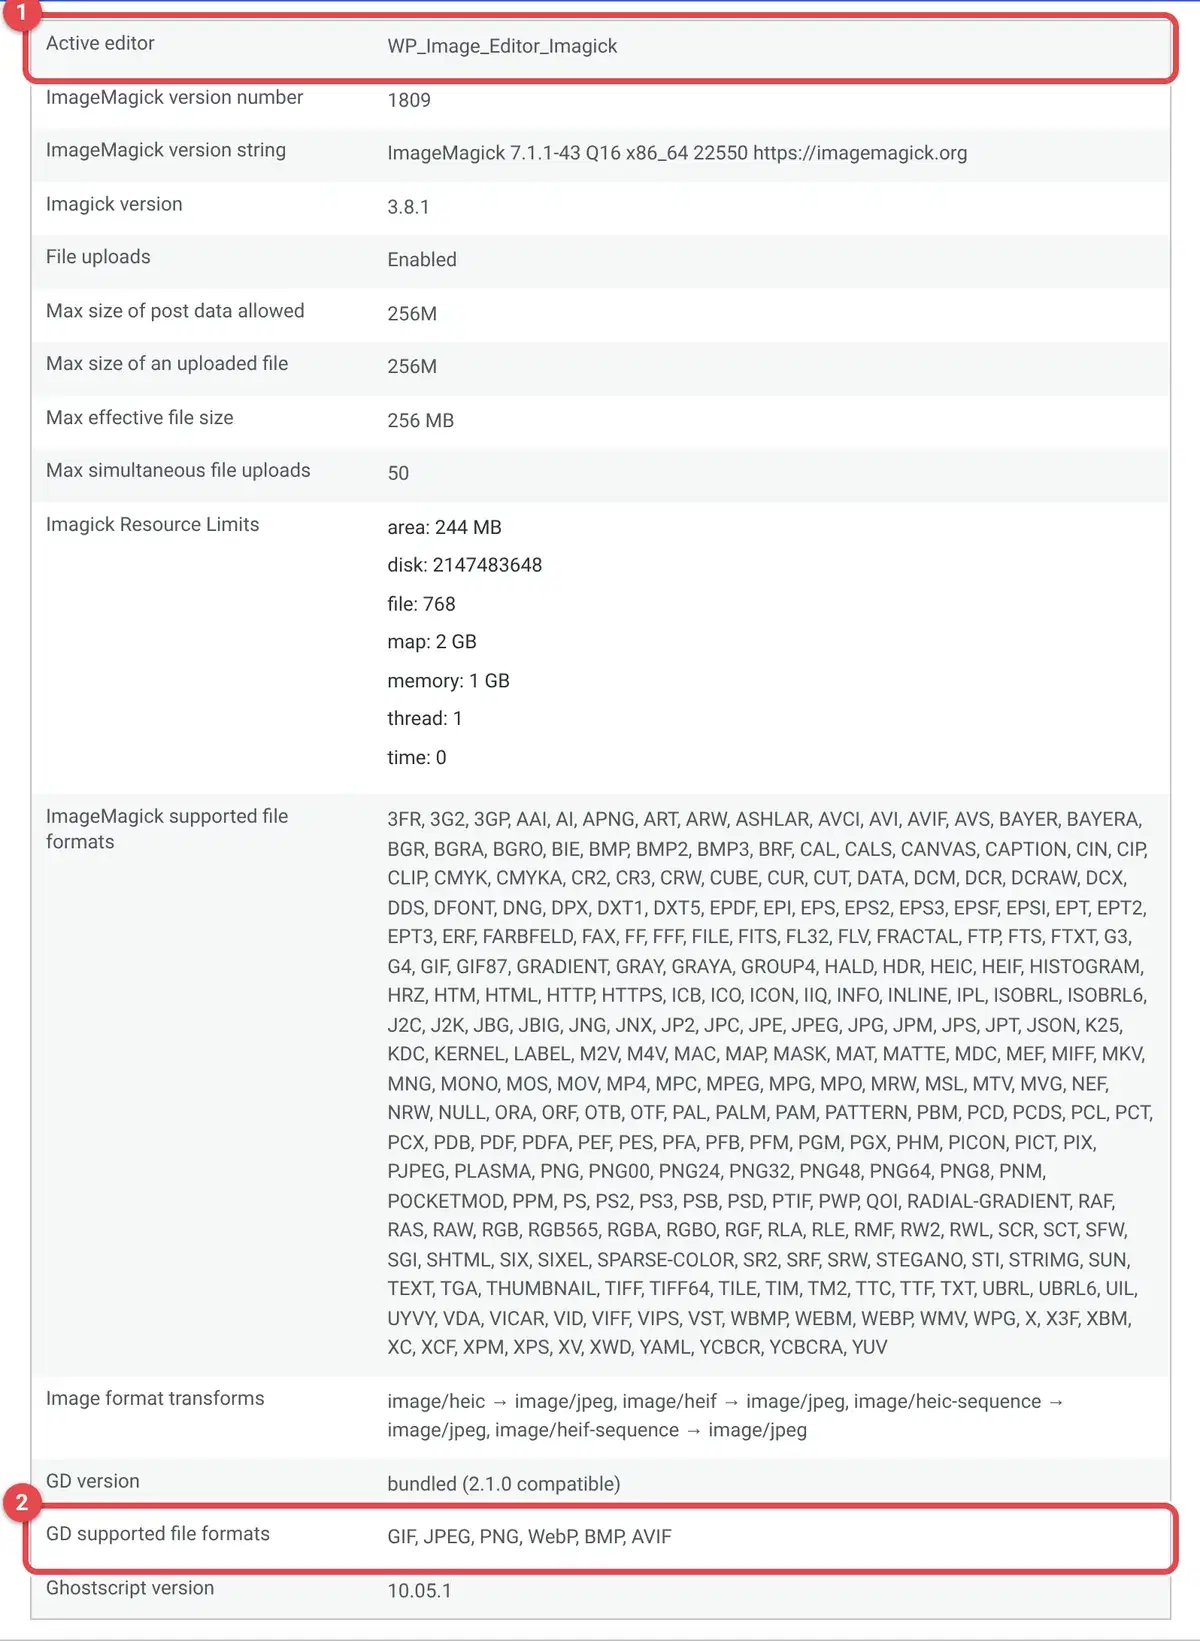
If WebP isn't listed, methods 2 and 3 won't work on your host until they add it. Methods 1 and 4 don't depend on your server, so they still do.
Method 1: Convert images to WebP before you upload
No plugin, no code, and it's fine for a few images. You convert the file on your computer, then upload the .webp like any other image. WordPress makes its thumbnails and other sizes in the same format as the file you upload, so a WebP upload gets WebP sizes.
- Open the image in Squoosh, Google Chrome Labs' free tool that compresses images right in your browser.
- Pick WebP as the output format on the right.
- Drag the quality slider down until you see a difference, then nudge it back up a little.
- Download the file and upload it to Media > Add New Media File.
Comfortable in a terminal? Google's cwebp tool does the same thing in one line. Quality runs from 0 to 100 and defaults to 75.
cwebp -q 80 photo.jpg -o photo.webpThe catch is obvious. It's manual, it does nothing for the images already in your library, and every browser gets the WebP, with no JPEG fallback.
Method 2: Make WordPress create WebP with a filter
WordPress 5.8 added a filter called image_editor_output_format. It tells WordPress which format to save generated image sizes in. Map JPEG and PNG to WebP and every new upload gets WebP sizes. Add this to a code snippets plugin or your child theme's functions.php:
add_filter( 'image_editor_output_format', function( $formats ) {
	$formats['image/jpeg'] = 'image/webp';
	$formats['image/png']  = 'image/webp';
	return $formats;
} );- Confirm WebP shows up in Site Health (see above).
- Add the snippet and save.
- Upload a new JPEG.
- Open it in Media > Library and check the file URLs for the generated sizes end in .webp.
Three things to know. It only touches new uploads, so existing images need regenerating with a tool like wp media regenerate. There's no fallback, so every visitor gets WebP. And in WordPress 7.1, sites on Chrome or Edge 137 and newer process images in the browser instead of on the server, but the 7.1 client-side media processing post says that path honors this same filter. So the snippet still works. We dug into what else 7.1 changed in does WordPress 7.1 optimize your images?.
Method 3: Convert to WebP with a plugin
If you'd rather click than code, Modern Image Formats is the free plugin from the WordPress Performance Team. It has 100,000+ active installs and is tested up to WordPress 7.1.4.
- Go to Plugins > Add New Plugin, search for Modern Image Formats, then install and activate it.
- Go to Settings > Media and scroll to the Modern Image Formats section.
- Set Image output format to WebP. It picks AVIF by default when your server supports it.
- Decide on Output fallback images. Left unchecked, WordPress only makes the WebP sizes and keeps your original upload as is. Check it if you also want JPEG or PNG copies of every size.
- Click Save Changes, then upload a test image.
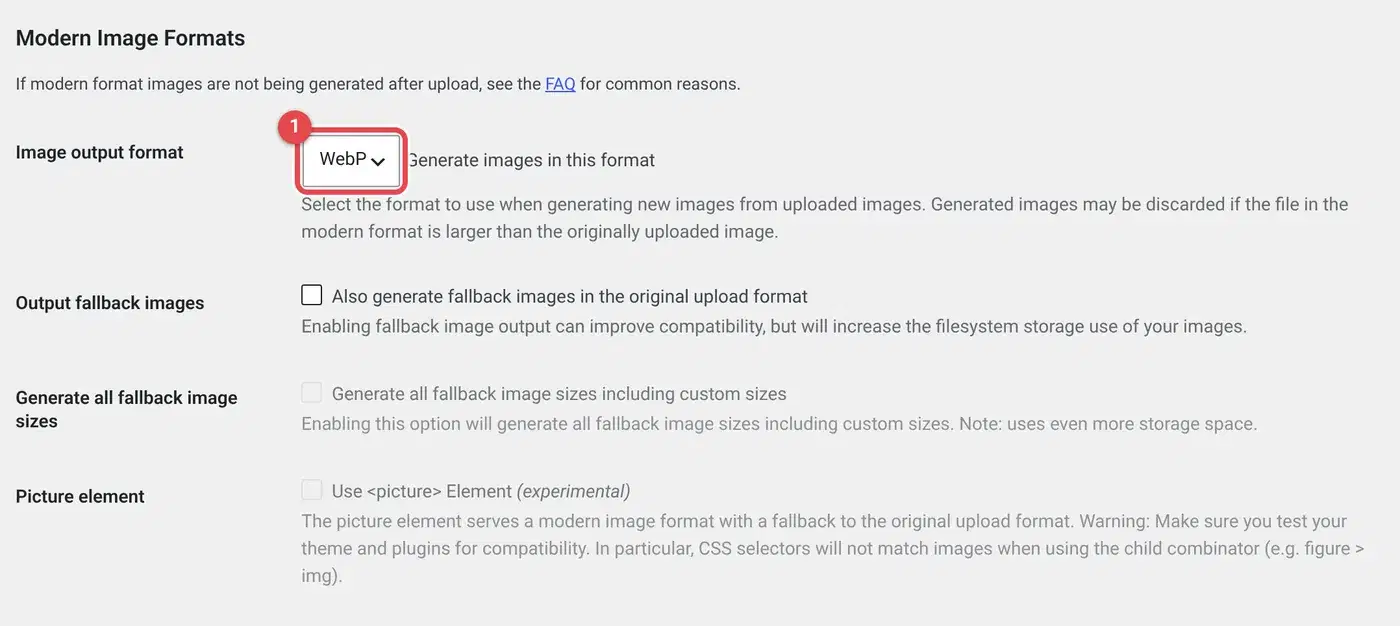
Like the filter, it only converts new uploads. Its plugin page says to regenerate existing images with Regenerate Thumbnails or wp media regenerate. One nice touch: it skips the WebP version when it would be bigger than the original.
The big optimization plugins convert too. Per their own plugin pages:
- EWWW Image Optimizer includes WebP conversion in the free version. One-click WebP and AVIF conversion and delivery is a premium feature.
- Imagify includes WebP conversion on its free plan, which covers 20 MB of images a month (about 200 images).
- Smush lists serving WebP and AVIF automatically as a Pro feature.
We compared these in more depth in the best WordPress image optimization plugins.
Method 4: Convert to WebP automatically with Infinite Uploads
Every method so far converts files on your server and stores extra copies. Infinite Uploads works the other way, and honestly, it's the simplest and quickest of the four. Your media lives in the cloud and goes out through our CDN's 119+ edge locations. With Image Optimization turned on, each JPEG or PNG is converted when a visitor asks for it, then cached at the edge. Your server does none of that work.
Each browser gets the best format it supports: AVIF first, then WebP, then your original as the fallback. Images are right sized and compressed on the way out. And your original files are never changed, so there's nothing to regenerate and nothing to undo.
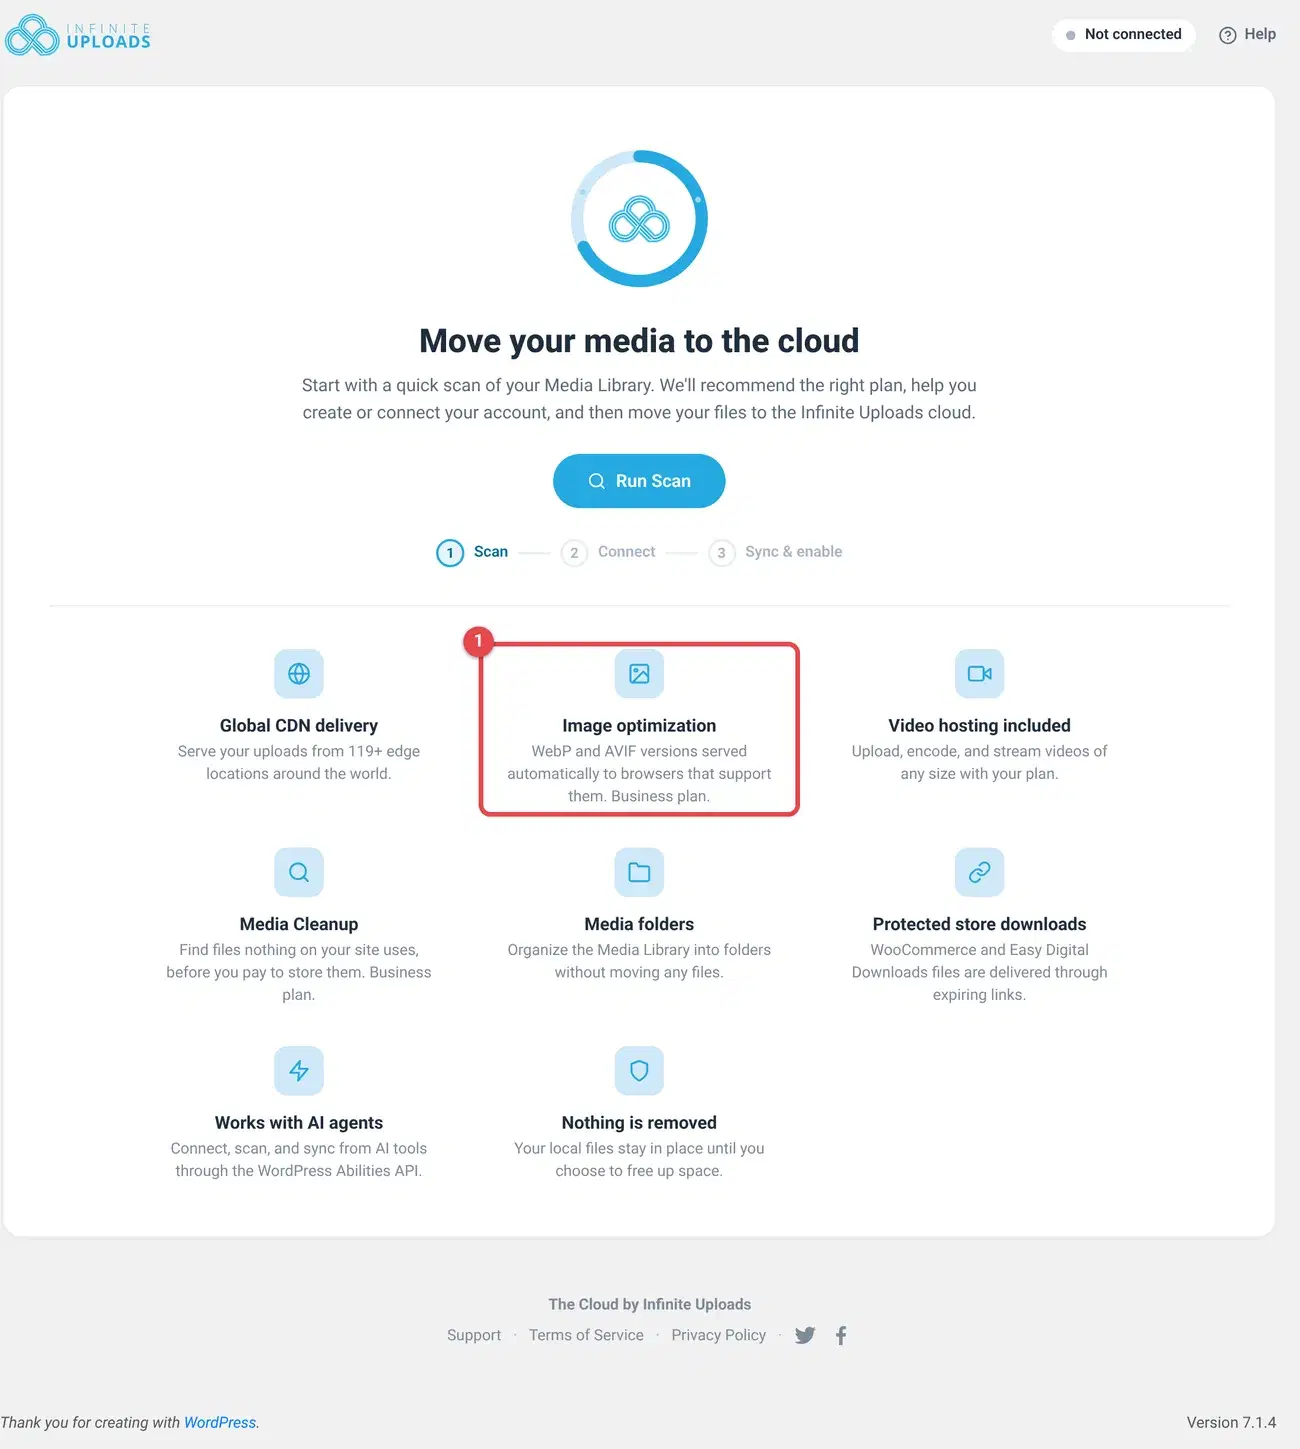
One honest note before the steps. Image Optimization is a Business plan feature. The Free plan gives you 10 GB of cloud storage and 20 GB of CDN bandwidth a month, but it doesn't include image optimization. Once you're on Business, it takes a minute (full steps in the docs):
- Install Infinite Uploads, connect your account and move your media to the cloud.
- Open the Infinite Uploads menu in your dashboard and find the Image Optimization section.
- Set Enable Image Optimization to Yes.
- Leave the optimization level on Balanced and keep AVIF and WebP both checked. That's the default.
- Click Save Settings.
New settings apply the next time each image is requested. Want them live right now? Purge the CDN cache. You can also set a maximum image width and exclude images you don't want touched. If you already run another plugin's WebP conversion, turn that part off so the two don't double up. Lazy loading can stay.
Business starts at $29 a month billed monthly, or $24 a month billed yearly. See every plan on the pricing page. If you're weighing up delivery-time tools, here's how Infinite Uploads compares with Optimole, which also converts to WebP and AVIF in the cloud.
Want to see it on your own images? Try any plan free for 7 days. Your trial includes the features of the plan you pick, so choose Business to test Image Optimization.
How to check your images are really WebP
A .jpg in the URL doesn't mean a JPEG reached the browser, and a plugin saying "converted" doesn't mean it's being served. Check what actually arrives:
- Open a page on your site in Chrome and press F12 to open DevTools.
- Click the Network tab, filter by Img and reload the page.
- Click an image and look at the Content-Type response header.
image/webporimage/avifmeans it worked.image/jpegorimage/pngmeans it didn't.
With Infinite Uploads, also check that the image URL is on your infiniteuploads.cloud CDN domain. If it isn't, the image is still coming from your server. My images aren't being optimized covers the usual causes.
Which method should you pick?
- A few images, no extra tools: method 1.
- Developer, new uploads only, fine without a fallback: method 2.
- Click-to-configure, new uploads only, free: method 3.
- The simplest, quickest and best way overall: method 4. It covers your whole library, AVIF too, puts no strain on your server, leaves originals untouched and has nothing to regenerate.
WebP has wide support. Can I use puts it at about 97% of browsers in use. AVIF is usually smaller still. If you're wondering whether to go further, read AVIF vs WebP for WordPress. And if you want the backstory on our setup, here's when Infinite Uploads started serving AVIF and WebP.
Convert once, check the Content-Type, and stop shipping JPEGs nobody asked for.