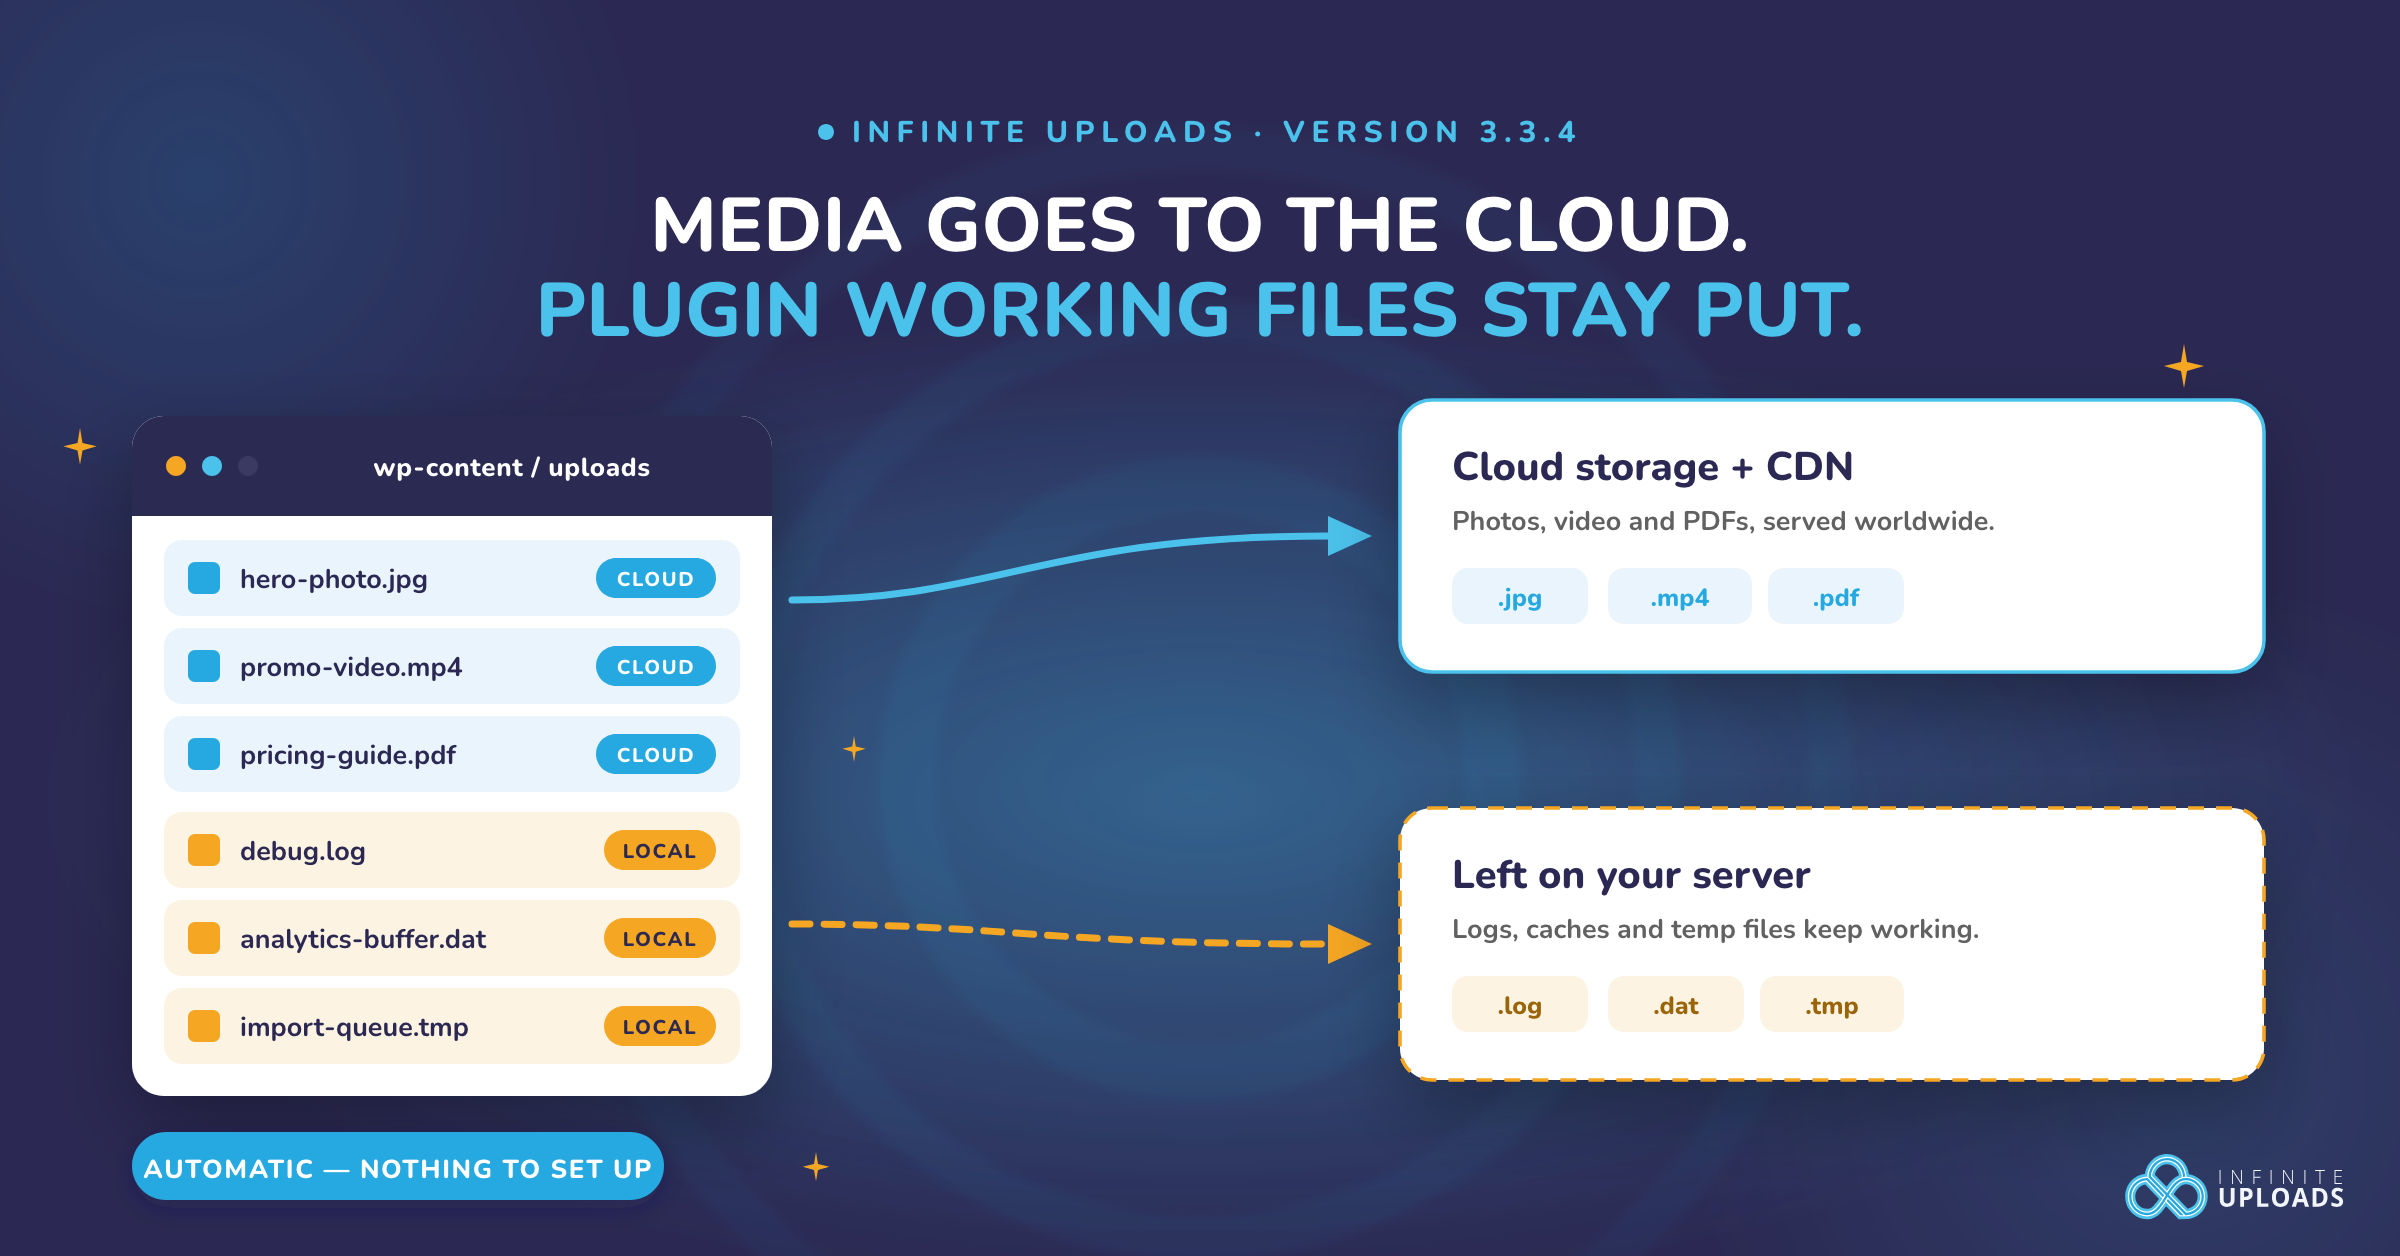
I opened a chat with my AI agent and typed "I have too much media on my site, set up Infinite Uploads." It checked the site, handed me a link to approve the connection, and waited. Once I approved, it kept going: it scanned all 285 files in the site's uploads folder, checked with me before sending them, copied them to the Infinite Uploads cloud, and asked whether to switch the site over. I said yes, and the site started serving its media from the CDN.
That's the big change in Infinite Uploads 3.4. Your AI agent can now do the whole setup for you, from connecting your site to moving your media library off your server. Your part is approving the connection and saying yes when it asks. And once your media is in the cloud, the same chat can search it, file new uploads in the right folder, and organize your whole library.

Set up Infinite Uploads by asking
Connecting a site used to mean opening wp-admin, clicking Connect, and finishing in your browser, so the best an AI agent could do was tell you where to click. With Agent Connect, you just ask. If you've ever signed in to a streaming app on a smart TV by approving a code on your phone, you already know how it works.
- Ask your agent to set it up. Plain words work: "Install Infinite Uploads and connect this site," or just tell it your site has too much media. If your AI tool can install plugins, it can install Infinite Uploads for you.
- It hands you a link and a short code. The link goes to infiniteuploads.com, and the code looks something like 89PD-••••. The code expires in 15 minutes, and your agent keeps checking for your approval while you finish.
- You approve it at infiniteuploads.com. Open the link, sign in if you're asked, and check that the code matches. Then pick where the site's media goes: Connect as a New Site, with storage in the United States or Europe, or one of the sites already in your account. Choose the region closest to your host, since it can't be changed later without moving your files. Click Approve and connect.
- Your agent keeps going. It picks up the approval on its own, scans your uploads, and starts copying them to the cloud. Some AI tools double-check before they send your files to the cloud. If yours does, just say yes.
- You say when to switch. When the sync finishes, your agent asks before switching your site over to serve media from the cloud and CDN. Say yes, or tell it "Turn on Infinite Uploads."

Reconnecting is even faster. If the site was connected before, the page preselects Reconnect to existing library, so only new or missing files need to sync.
Before a code is ever issued, Infinite Uploads checks that the request really came from the WordPress site it names. That's the Verified badge. It also means your site has to be live on the internet. A local development copy, or a site behind a password or a maintenance-mode page, can't be verified.
Approving takes an Infinite Uploads account with an active plan, and a free trial counts. Deny cancels the request, the access key never shows up in a link, and your plan and billing don't change. Infinite Uploads also won't start a second connection for a site that's already connected.
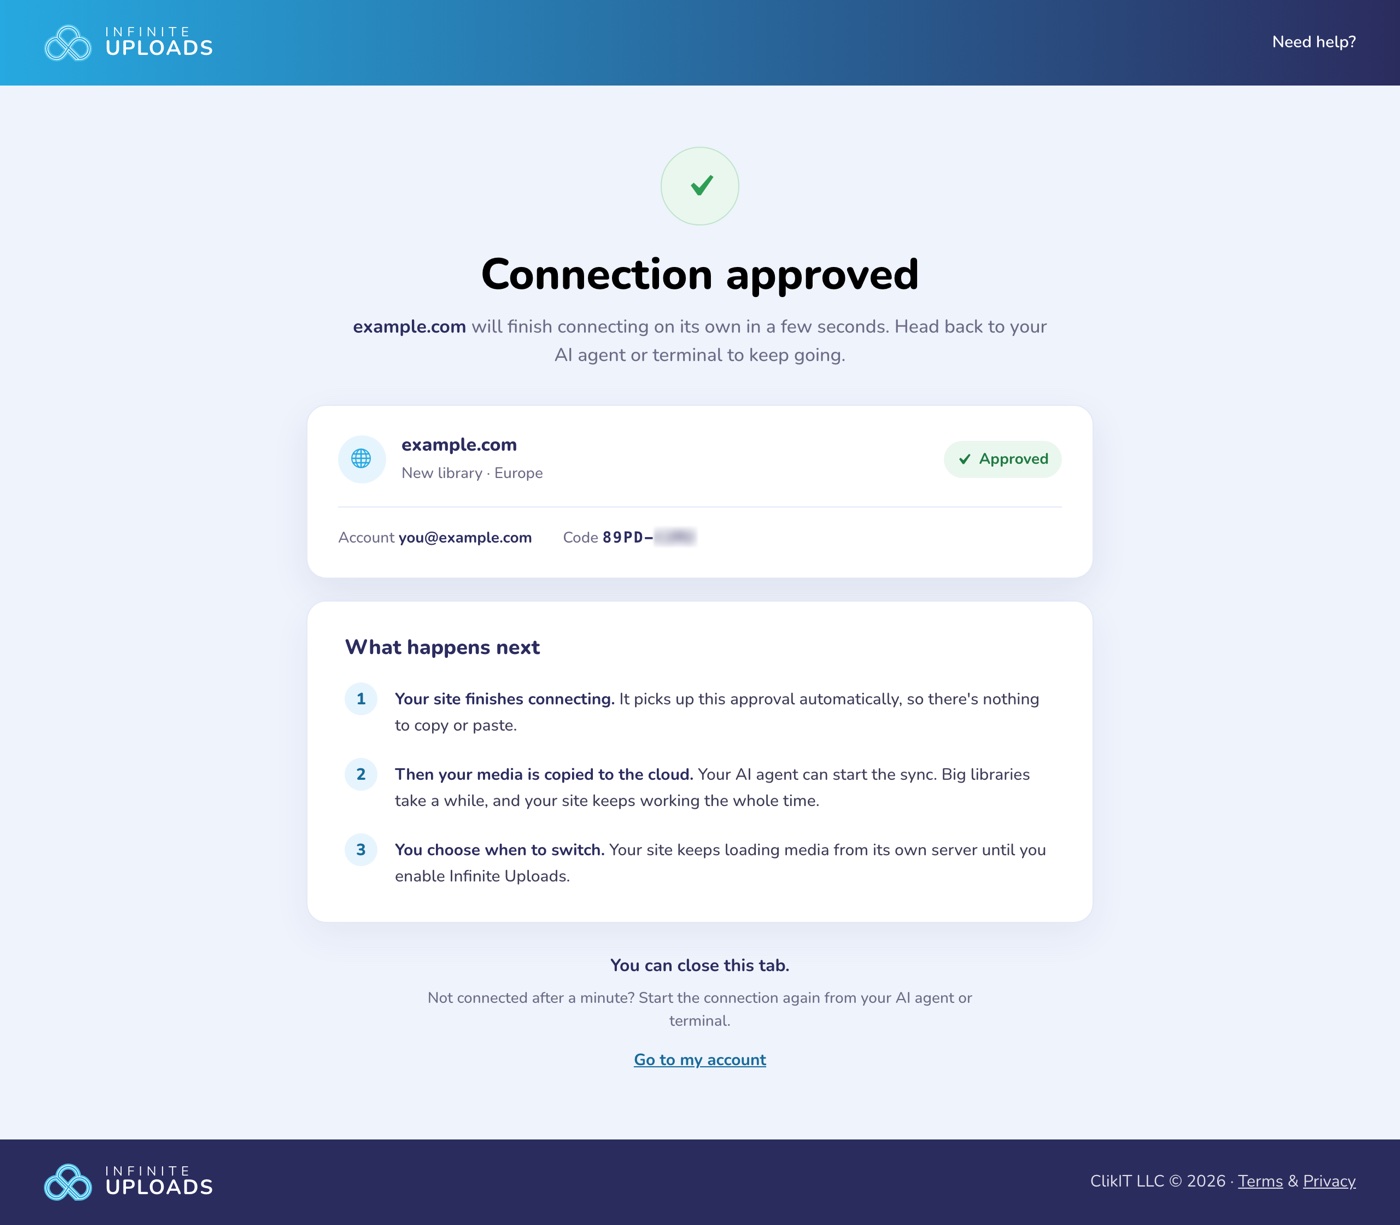
The transfer runs in the background on your own server and keeps going after you close the chat. That matters, because a big library can take hours. A scan an agent starts can even be finished from the Infinite Uploads settings screen, and the other way around.
Moving your files and serving your site from the cloud are two separate steps, on purpose. Switching over changes how media is served across your whole site, so it never happens on its own. It's the same Enable step you'd click yourself on the plugin's screen.
Then manage your media by asking
Once your media is in the cloud, the same chat can look after it.
It finds what's already there
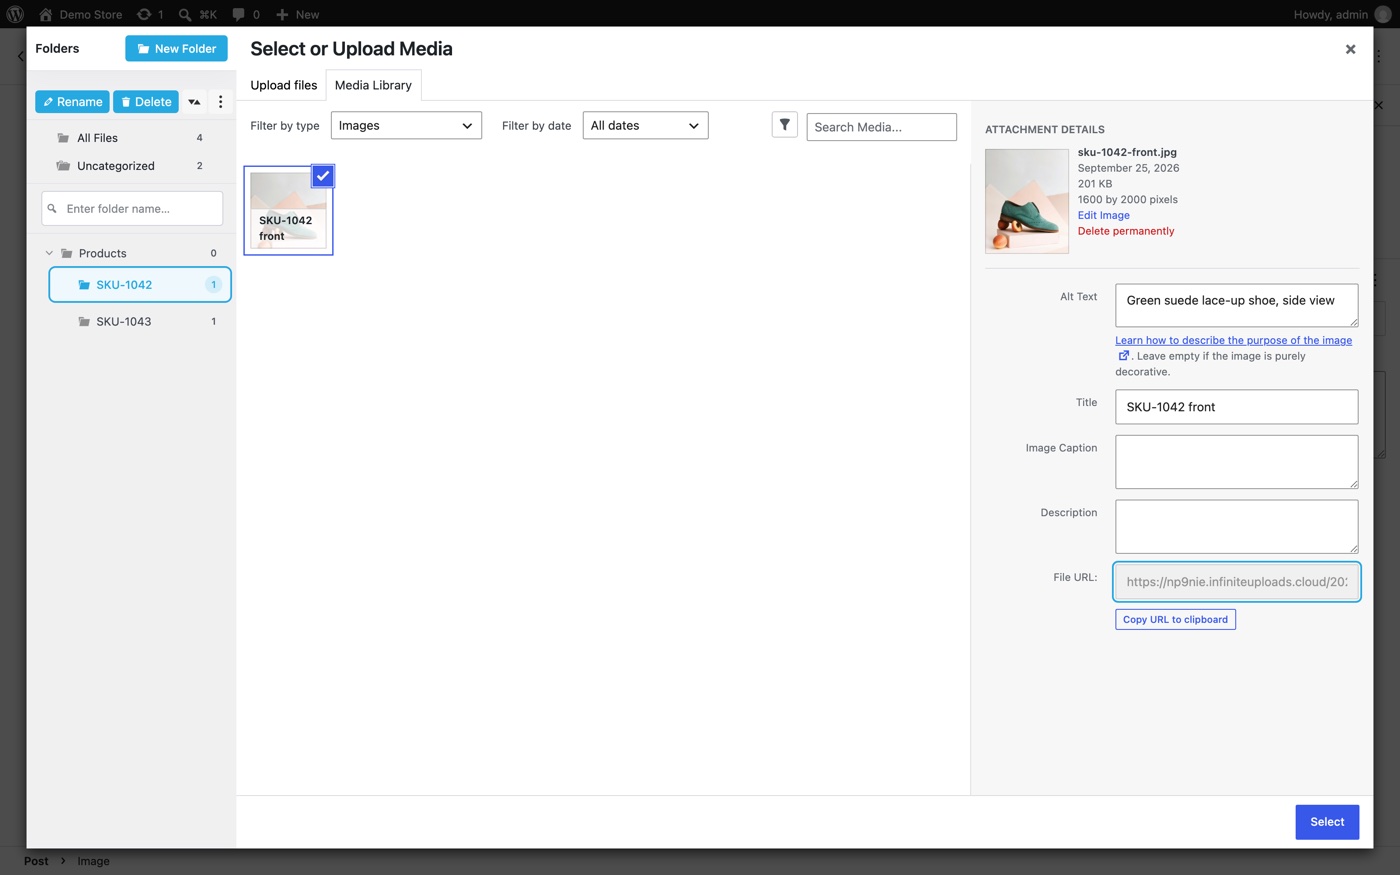
Before uploading anything, an agent can search your library by keyword, filename, media type, or folder, and reuse what's already there instead of uploading a fourth copy of your logo. Ask it to "Find media matching 'smile'" and you get the file back with its folder, its alt text, and the URL it's served from. It can also read your folder tree, with a file count for each folder, so it files things under the names you already use. Products/SKU-1042, not a brand-new products/sku1042 sitting right next to it.
It can organize your whole library
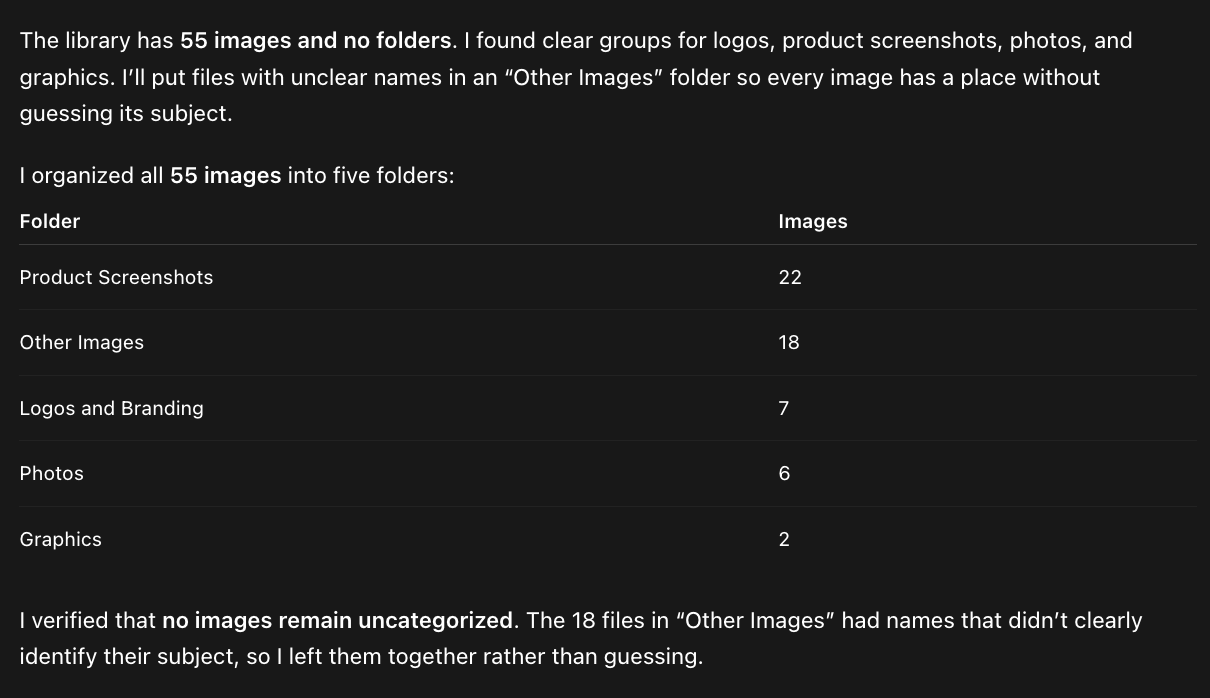
Ask it to "Organize all my images into folders" and it sorts them for you. On my test site, it grouped 55 images into five new folders based on their file names, and put the 18 whose names didn't say what they were into an "Other Images" folder instead of guessing.
Agents can create folders, move media into them (up to 200 files at a time), rename a folder, or move a whole folder somewhere else in the tree. Moves are all or nothing. If one file in a batch can't be moved, none of them move. And renaming or moving a folder never changes a file's URL, so nothing on your pages breaks.
Uploads land in the right folder, with the right URL
Tell your agent to add a photo to Products/SKU-1042 and that's where it goes. If the folder doesn't exist yet, it gets created on the spot, the same as clicking New Folder in your Media Library. The agent can pull the file from a web address or hand it over directly, with the title and alt text set in the same step.
Then it hands back the URL the page should actually use. When your site serves media from Infinite Uploads, that's the CDN URL. If you haven't switched over yet, the agent gets the local URL plus a note explaining why.
Already have the file in your library? The agent can move it into the right folder instead of uploading it again. Same file, same URL, no duplicate. Infinite Uploads folders are an organizing layer inside your Media Library, so the file itself keeps its normal WordPress uploads path. Nothing else on your site has to know the folders exist.
It works with the AI tools you already use
All of this is built on the WordPress Abilities API, part of WordPress since version 6.9. An ability is a named action a plugin publishes for AI agents, with a plain description of what it does, what it needs, and who's allowed to run it. Think of it as a labeled control panel on the wall of your site. The agent doesn't have to guess which wires to touch. It reads the labels and presses the right button.
Because it's the WordPress standard and not one AI company's integration, any AI tool that speaks the Abilities API can find and use Infinite Uploads. Honestly, I don't expect most people to wire an AI model into WordPress by hand. You'll use a tool like WPVibe, Novamira, or Respira, and now Infinite Uploads shows up inside it.
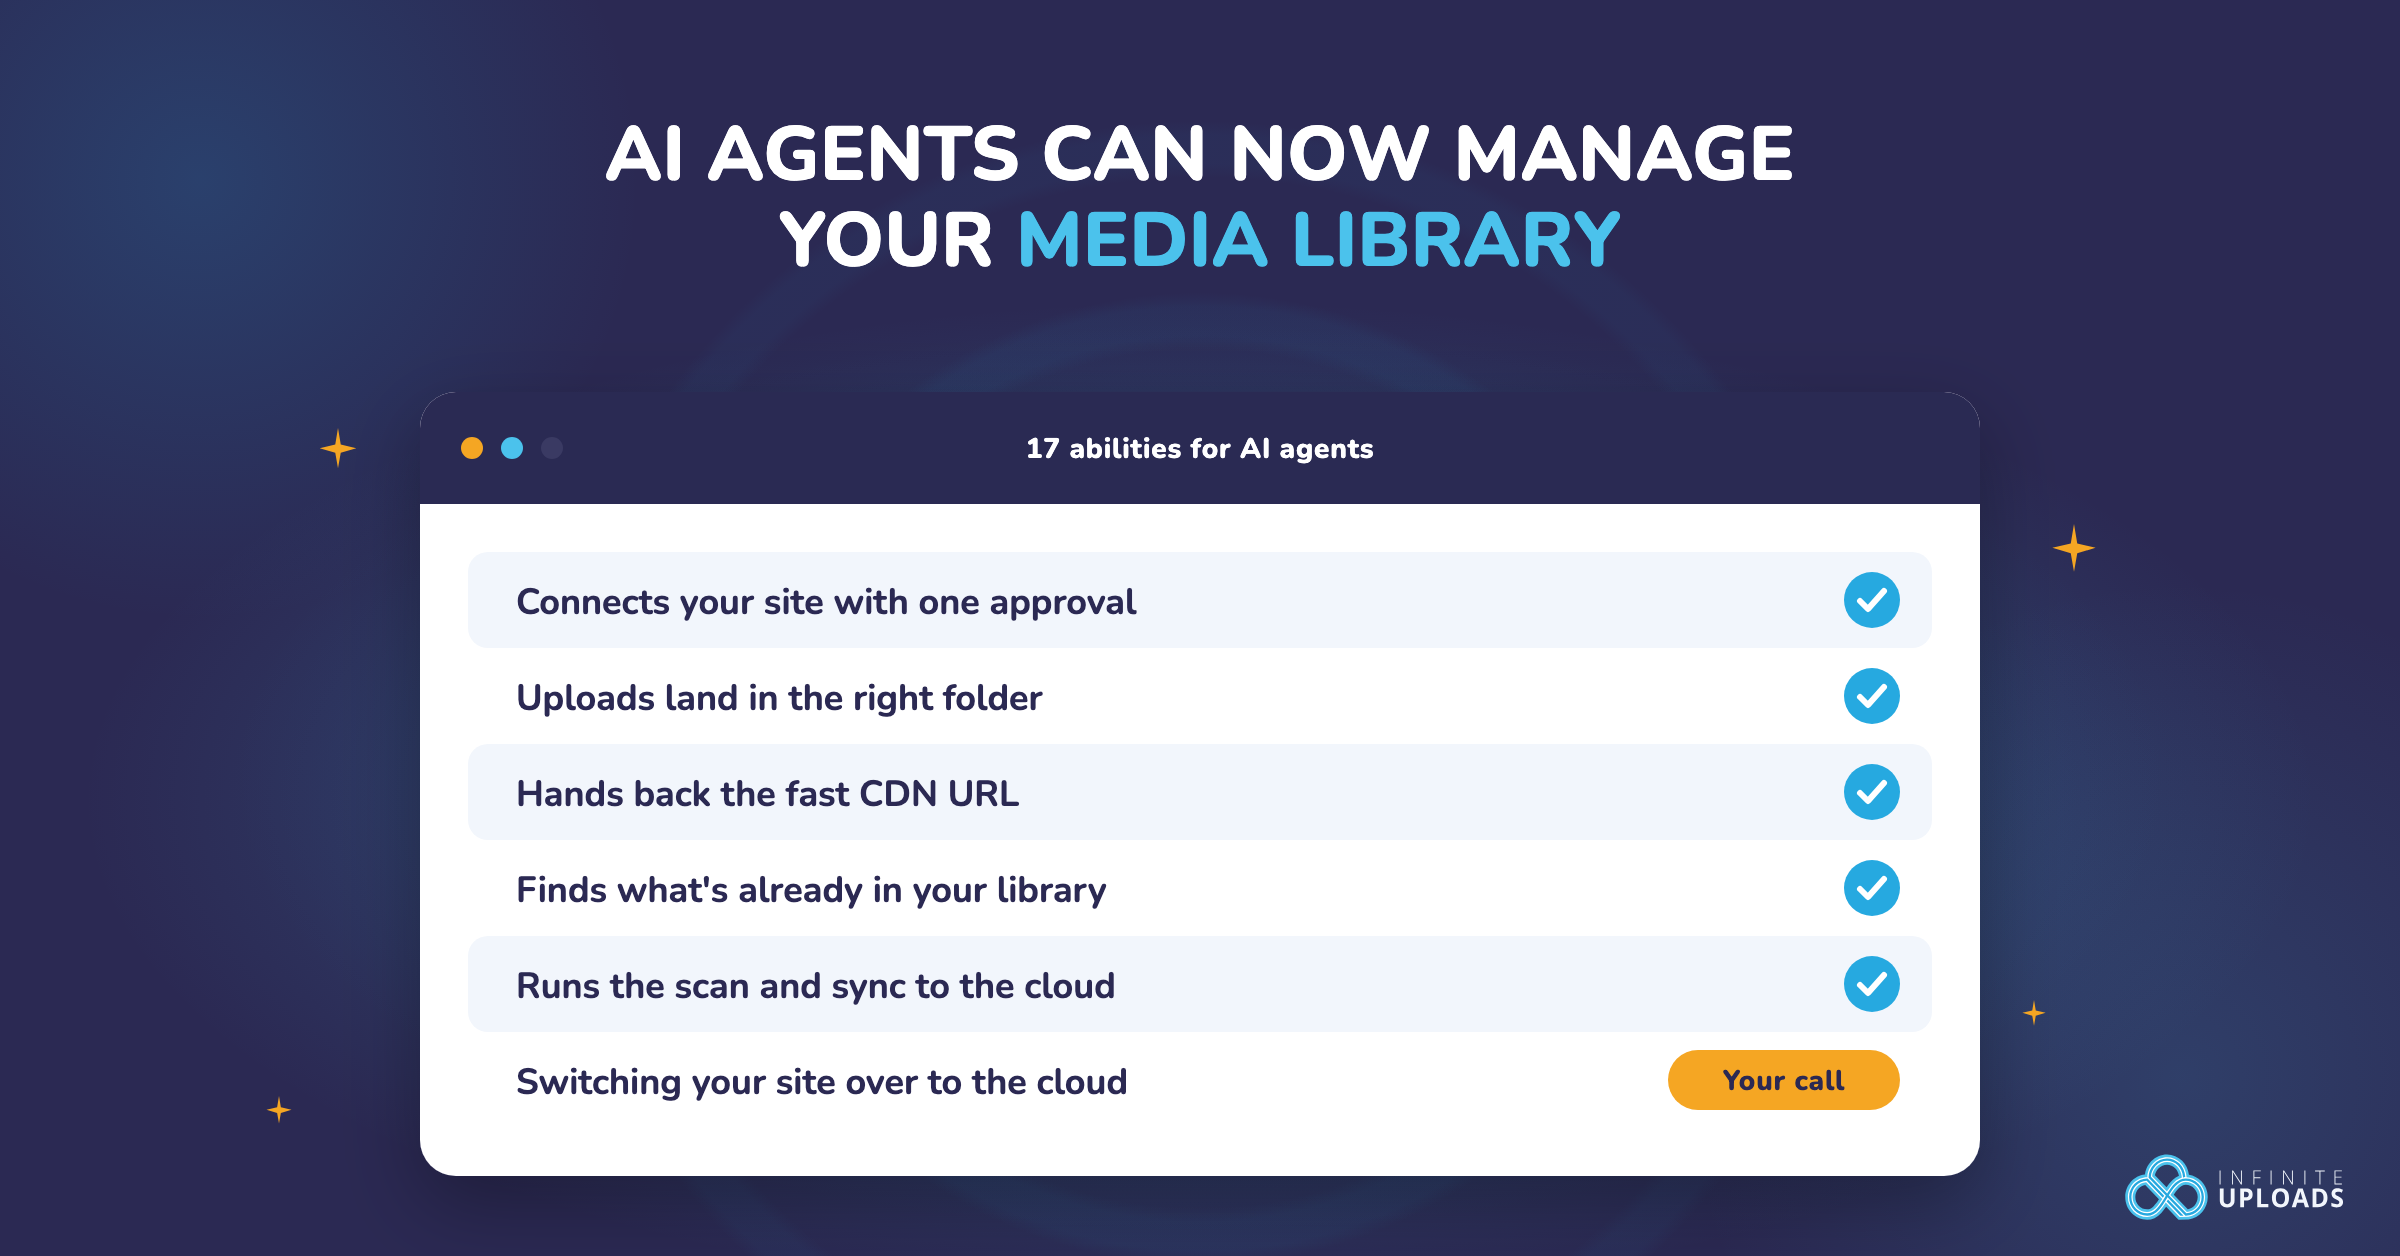
Here are all 17:
- Your site and account: Get Infinite Uploads Status, Connect This Site to Infinite Uploads and Wait for Connect Approval (the pair your agent uses to connect your site), Get Signup Instructions, and Purge CDN Cache.
- Media: Upload Media to a Folder, Find Media, List Media Folders, Create a Media Folder, Move Media Into a Folder, Rename a Media Folder, and Move a Media Folder.
- Cloud sync: Scan Local Files, Restart the Local File Scan, Sync Files to the Cloud, Download Cloud Files to Local, and Toggle Cloud Serving.
On multisite, the five cloud sync abilities live on the main site only, like the plugin's own sync controls, so a subsite gets 12.
The guardrails stay on
Giving an AI agent access to your media library should make you a little nervous. Here's what keeps it in check:
- Cloud serving never switches on by itself. A finished sync doesn't flip anything, and the agent is told to ask you first.
- Plan gates still apply. Purging the whole CDN cache still needs the Business plan with Image Optimization on, and it's still limited to once an hour, same as the button in the plugin.
- Nothing destructive happens quietly. The one ability that can wipe your sync records, Restart the Local File Scan, is marked as destructive, so AI tools that support approvals stop and ask you first. WPVibe, for example, opens a page that says "This is destructive" and waits for you to click Approve and execute or Decline.
- No dangerous files. Uploads get the same file-type checks as any WordPress upload, so an agent can't drop a PHP file into your uploads folder. And when it pulls a file from a web address, that address has to be public.
- Looking never changes anything. Searching for media or a folder never creates anything.
- Connecting still takes you. Your agent can start a connection, but only you can approve it, signed in to your own account at infiniteuploads.com.
Agents also get exactly the permissions of the WordPress user they work as. Everything outside the media abilities needs an administrator, same as the Infinite Uploads settings screen. The media abilities only need permission to upload files, same as the Media Library, so an agent working as an Editor can file and organize media but can't connect your site or switch anything on. Moving a file or attaching it to a post also checks that the user can edit it.
Also in 3.4
- Much faster pages on WordPress.com hosting. WordPress.com's built-in image plugin, which you can't turn off, checks every image size on a page against your uploads folder. With your media in the cloud, each of those checks became a trip across the network. On an affected site, an uncached homepage took about 60 seconds to build. In our testing, it now builds in 1.2 to 1.6 seconds. Infinite Uploads switches those checks off when your media is served from the cloud, since every image size already comes from the CDN.
- No more stuck uploads in Image Upload for bbPress. Uploads through BerryPress's Image Upload for bbPress could get stuck in an endless loop on sites serving media from Infinite Uploads. That's fixed.
- The Search In menu shows its options again. In the Media Library's grid view, the menu for choosing which fields a search covers could open empty. That's fixed.
- No more duplicate folder names. Creating, renaming or moving a folder now stops if a folder with the same name is already in that spot, whether you do it in the Media Library or your agent does. Folders that are already duplicated stay as they are, and you can still rename, move or delete them.
Getting started with 3.4
Install or update Infinite Uploads 3.4 from your Plugins screen. There's nothing to switch on. On WordPress 6.9 or newer, the abilities are there as soon as the plugin is active.
- Pick the WordPress user your agent works as. Connecting, syncing, and switching your site over need an Administrator. An Editor can file and organize media.
- Give your AI tool a way in. If it asks for credentials, create an application password for that user. You'll find it near the bottom of their profile in Users.
- Connect your site. Already an Infinite Uploads customer? Ask your agent to connect the site, then approve it at infiniteuploads.com. New to Infinite Uploads? Start a free trial at infiniteuploads.com first, then ask. Folders and the cloud sync need a connected site. Until then, an agent can still check your status and scan your files.
Why we built it this way
Moving a media library to the cloud always needed a person clicking through wp-admin, and WordPress never gave AI tools a map of your media. No folders to respect, no way to spot a duplicate, no idea which URL is the fast one. So we gave agents both: a way to set Infinite Uploads up with one approval from you, and a map to work from. We built it on the WordPress standard instead of picking a favorite AI company. The tool you use next year might not exist yet. If it speaks the Abilities API, Infinite Uploads already works with it.
Let your agent do the setup and the filing. The switch stays yours.
Ready to get your media off your server?
Infinite Uploads moves your media library to the cloud and serves it from a global CDN. Now your AI agent can set it all up for you.