
I know the first time you run an operation with a command-line tool like WP-CLI it can be intimidating. This tutorial is designed to demystify the process and to walk you step-by-step through the process so you can take advantage of the performance and stability benefits of CLI like a pro.
Before we dive in, let’s look at why WP-CLI is a preferred choice to handle your media libraries when migrating large libraries to Infinite Uploads cloud storage, what WP-CLI is, and how it works.
What is WP-CLI
WP-CLI is the official command line tool for interacting with and managing your WordPress sites. Command line utilities allow you to manage plugins, themes and your installation from the backend of the server without a connection to the browser.
With WP-CLI you can update plugins, configure multisite installations, execute commands for specific plugins such as syncing your gallery storage to Infinite Uploads – and you can do all of this without having to use a web browser.
Why and when you should use WP-CLI?
The answer to this can be summed up into 3 factors compared to just working from the WordPress backend via the browser window.
- It is faster
- It is more secure
- It is more reliable
Working from a fancy user interface is convenient. That is why we developed the Infinite Uploads plugin. It makes connecting and syncing with the cloud simple. But for larger media libraries, WP-CLI is a more efficient solution than using the syncing tool built into the WordPress plugin.
Let’s examine why
It is faster because using the command line tool will instantly connect to the WP installation without passing through the web server and then sending the connection back and forth to your browser. This makes it run much faster because it’s more efficient to cut out the middle-man.
It is more secure because you do not have to log in to the WordPress admin, which could be done from any browser. You are securely logged in to the Linux backend via SSH.
It is more reliable because it does not depend on external connections. The web server as well as the PHP processor have time limits for operations that could be triggered when the process takes too long to complete. Timeouts errors can occur if your browser temporarily loses connection to the server while a process is running. This does not occur with WP-CLI, which is free from those limitations. If an operation takes a long time to complete, doing it from CLI will make it more reliable and less victim to errors. It also causes much less load on your server because it doesn’t have to make the hundreds to thousands of repeated server requests during a sync.
What about Infinite Uploads
Infinite Uploads uses a series of AJAX calls to process and sync the data from your media library. As with any other web service, it depends on the connection your browser has to the servers and it may be subject to a timeout or a disconnection, which will trigger a break in the sync.
This will then force you to re-try the sync. If the sync to our service is done through WP-CLI, the timeouts are no longer a problem. This makes the sync process extremely reliable and safe.
Now that you know why WP-CLI is great for moving files, especially for large media libraries, let’s talk about how to install it.
Requirements
To use WP-CLI, you need a hosting provider that allows you to connect through SSH. You have to pay attention to this as many hosting providers do not allow SSH connections. Fortunately, most WordPress managed hosting providers do allow it.
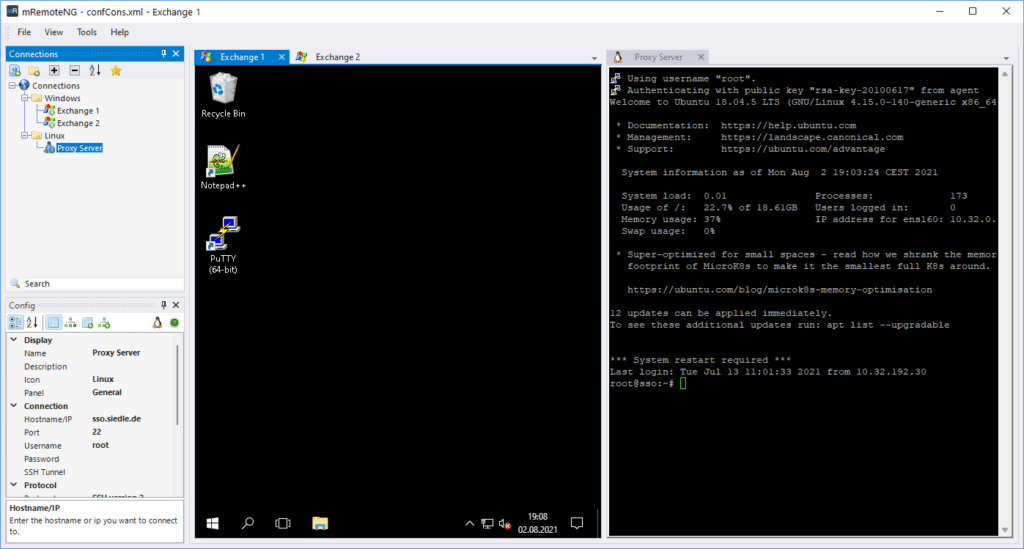
First, you will need to install a program to be able to log in to SSH. To log in, you will need the domain of your site, the username and password for your SSH account and then you will need a program to be able to connect. If you are on Windows, we can recommend that you use MremoteNG as it is based on Putty but a lot easier to manage. You can download it from here
The requirements to be able to run WP-CLI besides the hosting supporting it, are as follows:
- UNIX-like environment (OS X, Linux, FreeBSD, Cygwin); limited support in Windows environment
- PHP 5.6 or later
- WordPress 3.7 or later. Versions older than the latest WordPress release may have degraded functionality
Installation
If you are using a hosting provider that provides WP-CLI, you should not need to install it. If not and you are managing your own server and have root access, WP-CLI can be installed on most systems with SSH quite easily, the most recommended method today is downloading the Phar file. There are other methods as well, such as using: Composer, Homebrew, and of course, Docker.
If you meet the requirements you will then have to use wget and curl commands to be able to work with the file.
First, download the file with the following command:
curl -O https://raw.githubusercontent.com/wp-cli/builds/gh-pages/phar/wp-cli.phar
Then verify that it is working:
php wp-cli.phar --info
Make it executable and store it in the local/bin/wp folder:
chmod +x wp-cli.phar
sudo mv wp-cli.phar /usr/local/bin/wp
If it was installed successfully you should see the following text (or similar) after executing: wp –info
$ wp --info
OS: Linux 4.19.128-microsoft-standard #1 SMP Tue Jun 23 12:58:10 UTC 2020 x86_64
Shell: /usr/bin/zsh
PHP binary: /usr/bin/php
PHP version: 8.0.5
php.ini used: /etc/php/8.0/cli/php.ini
MySQL binary: /usr/bin/mysql
MySQL version: mysql Ver 8.0.23-0ubuntu0.20.04.1 for Linux on x86_64 ((Ubuntu))
SQL modes:
WP-CLI root dir: /home/wp-cli/
WP-CLI vendor dir: /home/wp-cli/vendor
WP_CLI phar path:
WP-CLI packages dir: /home/wp-cli/.wp-cli/packages/
WP-CLI global config:
WP-CLI project config: /home/wp-cli/wp-cli.yml
WP-CLI version: 2.5.0
From that point onwards, updating WP-CLI will be as easy as typing: wp cli update
How’s that for an easy update?
General Usage
Now that we have access to WP-CLI, how do we use it? Let’s first look at how to install and activate a plugin:
wp plugin install plugin_slug --activate
WP-CLI will search the plugin in the database, install it and then proceed to activate it, all with a single command line statement, much faster and more reliable than if you do it from the dashboard.
This should be the result:
Installing bbPress (2.5.9)
Downloading install package from https://downloads.wordpress.org/plugin/bbpress.2.5.9.zip…
Using cached file '/home/vagrant/.wp-cli/cache/plugin/bbpress-2.5.9.zip'…
Unpacking the package…
Installing the plugin…
Plugin installed successfully.
Activating 'bbpress'…
Plugin 'bbpress' activated.
Success: Installed 1 of 1 plugins.
Super fast and super easy to do!
So how do you sync your media gallery on Infinite Uploads?
Now that you have basic knowledge on how to install and use WP-CLI, let’s focus on how you can sync your media library in the most efficient way.
Go to your WordPress folder for the site you’re wanting to sync the media gallery contents and type the following to verify if the connection is active:
wp infinite-uploads verify
If the verification is passed you can proceed to the actual sync by executing the following command:
wp infinite-uploads sync
That’s all there is to it!. Your media gallery will be in-sync after the process is complete.
There are some other things you can do, like increasing the concurrent files you can sync at a time, delete local files once they are in sync and listing the contents of your cloud storage. You can get a complete list of available WP-CLI commands for Infinite Uploads on our knowledge base.
Wrapping Up
You’ve learned today what WP-CLI is, what is it’s intended purpose, how to install it and how to use it to sync your media library to the cloud. WP-CLI is a powerful tool that should not be ignored, if your hosting supports it, learning how to work with it will most certainly make your life easier. Especially if you handle lot of websites at once.
If you found this article useful, please do not hesitate to share it. If you have any questions drop them into the comments below or send us a message. We are here to help make the process of moving your files to the cloud for infinite scalability as smooth and simple as possible.

