
Uploading files to WordPress is a simple task until you encounter errors, hit upload limits, or experience slow site performance. Then you realize it’s not that simple, and even the tiniest issue can waste a notable amount of time.
In my 10+ years working with WordPress sites, I’ve seen file uploads make or break performance, user experience, and even site security. But once you understand how WordPress handles uploads and how to optimize them, you save yourself a lot of hassle.
In this guide, I’ll walk you through everything I have learned about WordPress uploads, where your files go, how to upload them, what to do when errors pop up, and how to secure and optimize them for speed.
Understanding WordPress Uploads
To manage uploads properly, you first need to understand how WordPress uploads, stores, and manages them. Every file you add, whether it is an image, video, or document, has a standard way of being managed within the WordPress media library.
Let's first learn how WordPress uploads work and then explore how to optimize them.
The Role of the wp-content/uploads Folder
Every time you upload an image, video, or document, WordPress saves it inside the wp-content/uploads folder. It works as the media library for your WordPress website. Every media file stays inside that.
In a regular WordPress site, the files are stored by year and month—for example, wp-content/uploads/2025/08/image.jpg. So, when you are looking for any particular media file, you can filter it using the date.
But in a Multisite network, each site gets its own folder under /uploads/sites/ID/. You need to surf through the media files to locate the particular one. This file upload method keeps your media files separate and manageable, and organizes an effortless file system across multiple sites.
This structure keeps your WordPress media uploads tidy. So that it stays safe. If you lose your WP uploads folder, it also means you are losing all your media.Your WordPress uploads folder is critical for your website.
Types of Files You Can Upload
WordPress supports a broad array of file types to ensure you can upload the content you need for your site. Common file formats include,
- Images: JPEG, PNG, GIF, WebP
- Documents: PDF, DOCX, PPT, XLS
- Audio: MP3, WAV
Video: MP4, MOV, AVI
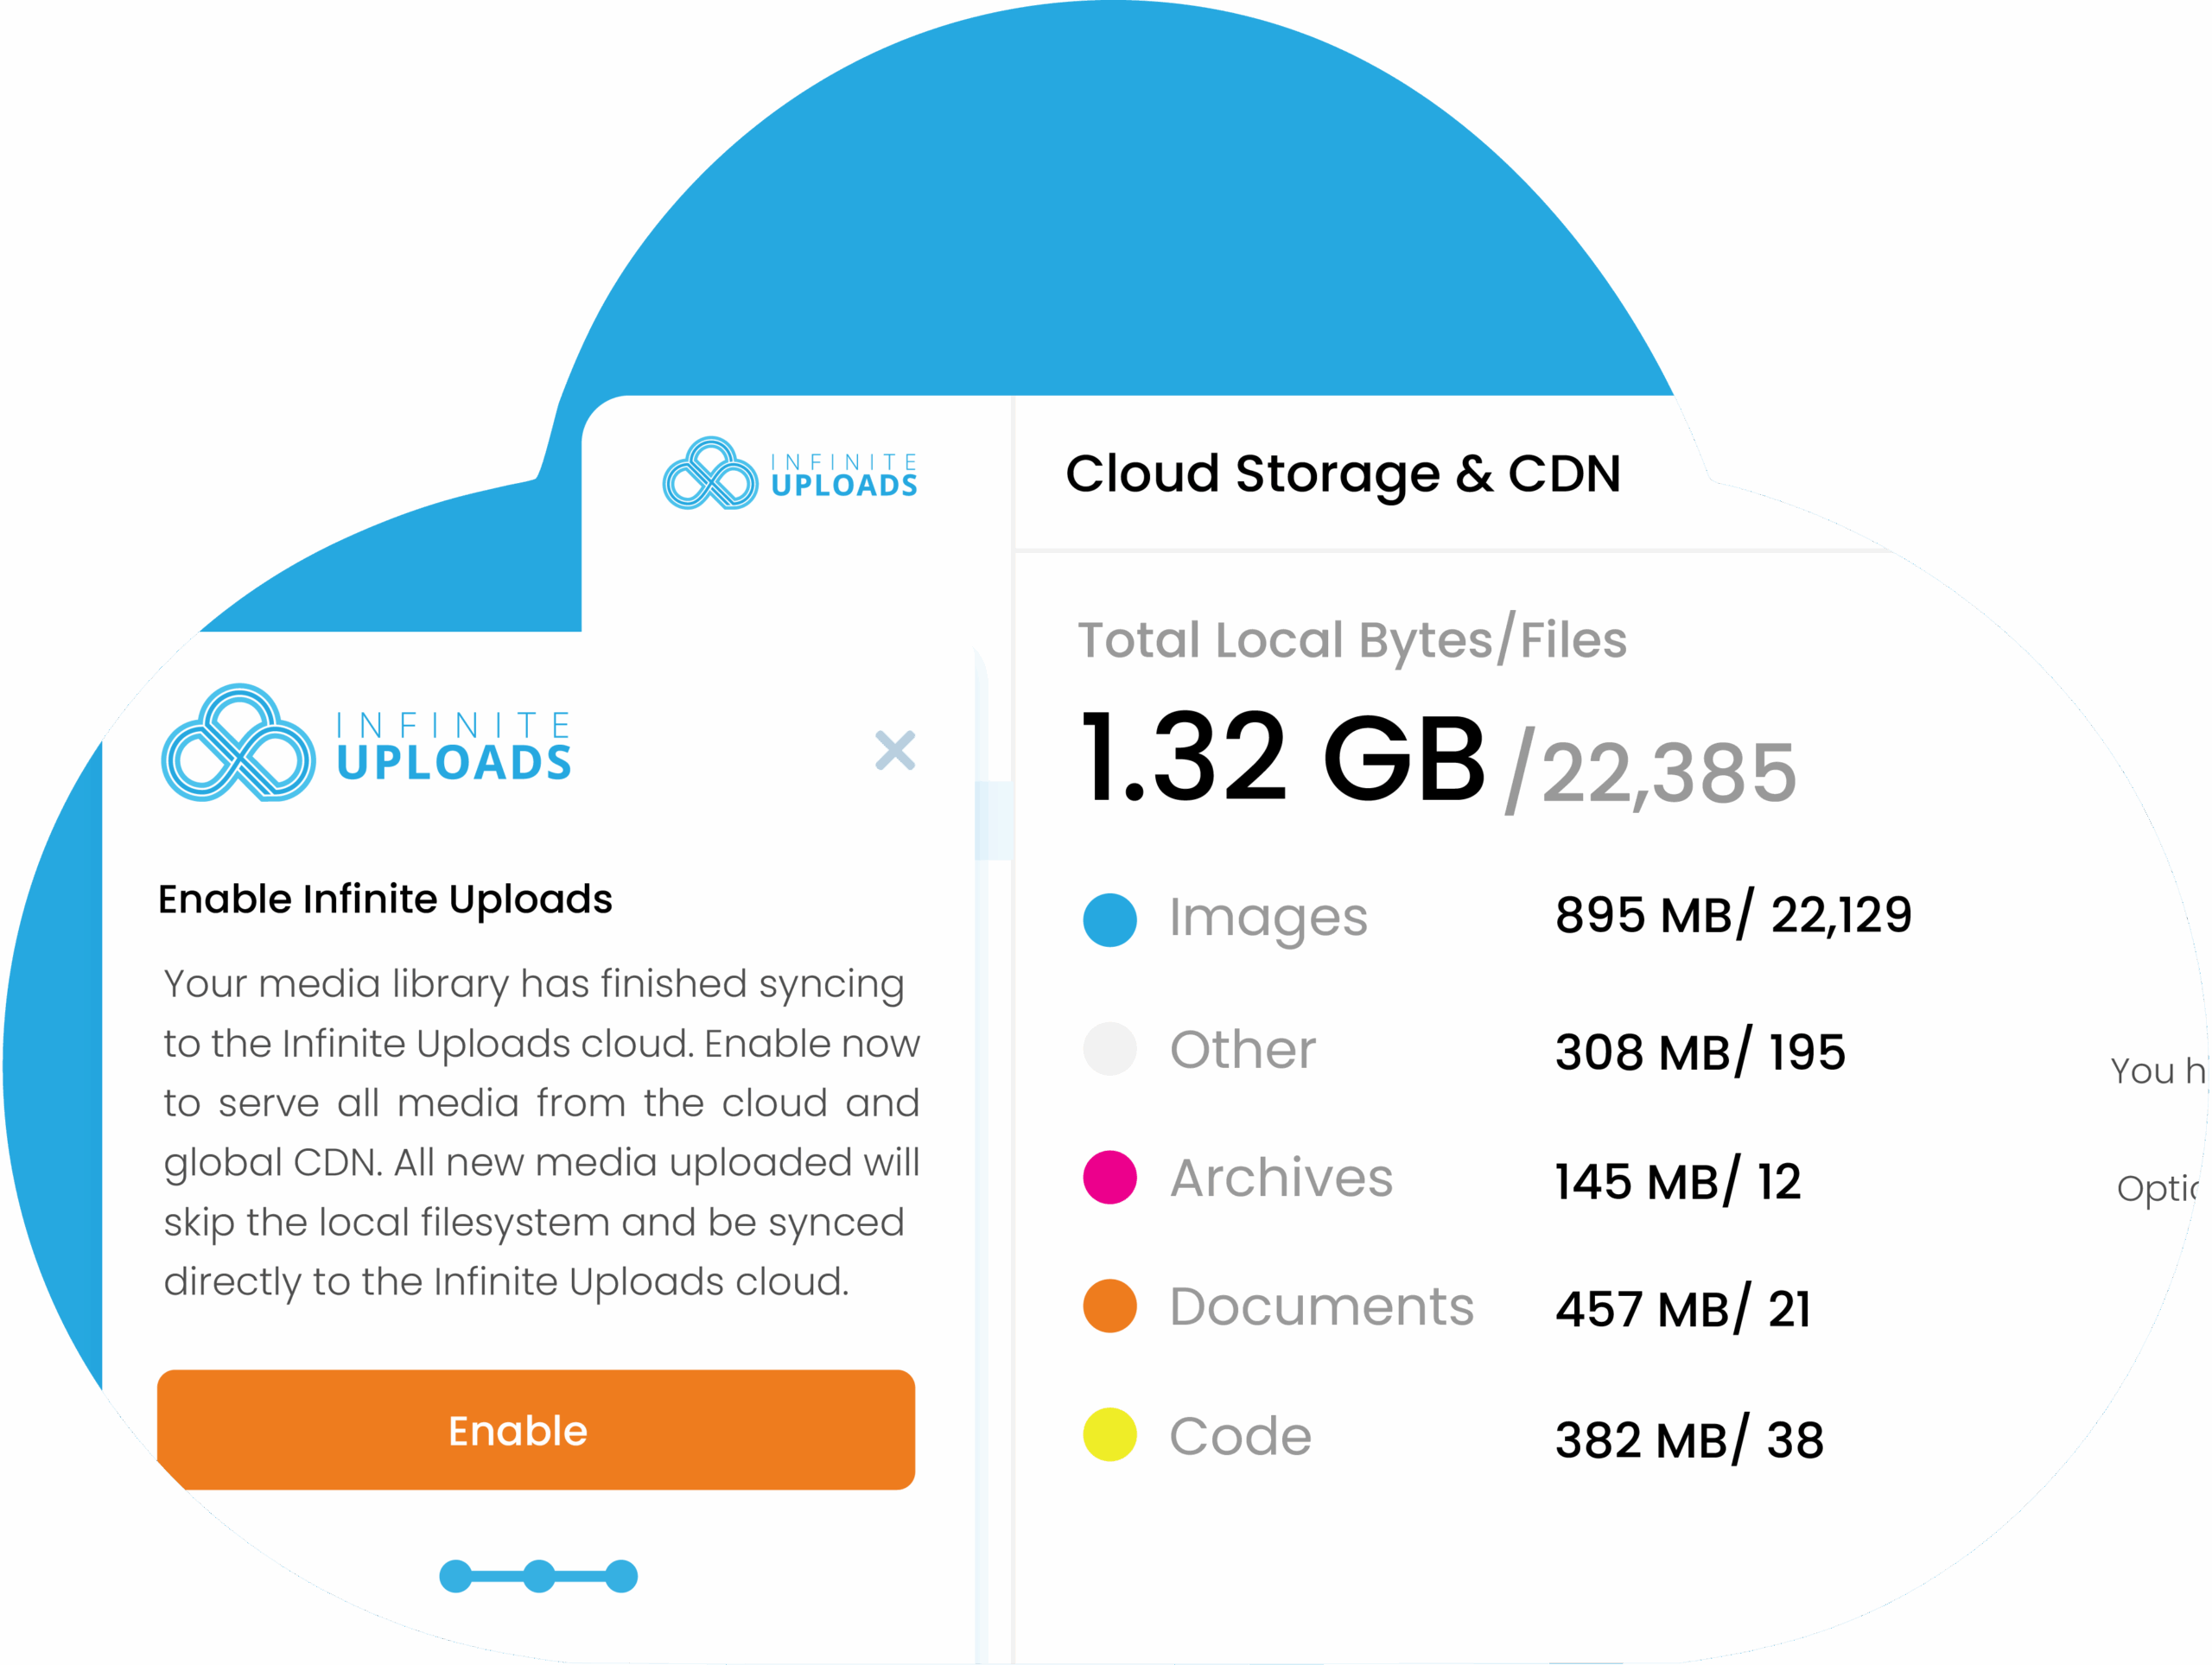
Infinite Uploads
Easily manage and deliver your media with a seamless solution that simplifies video streaming optimizers storage, and ensures fast, reliable content delivery for your WordPress site.
Purchase PluginCloud storage and WordPress plugins can make media management easier, particularly for videos. They give you more space and help your site load faster with features like automatic video optimization. When you connect these tools to your WordPress site, you simplify your uploads and boost performance. This makes your site faster and improves the user experience.
Default WordPress Upload Limits Explained
WordPress allows you to upload many types of media files. But alongside that, it also puts a limit on the size of your WordPress uploads. If you’ve ever tried to upload a large file to WordPress and been blocked, you’ve exceeded the default WordPress upload limit.
By default, most WordPress installs have relatively small limits:
- Some shared hosts cap it at 2MB.
- Some set it at 64MB or 128MB.
- Premium managed hosts sometimes bump it up to 512MB+.
In my own projects, I’ve seen everything from 2MB limits on budget hosting to unlimited uploads on enterprise servers. However, I have customized that limit to 2GB currently at my Hostinger VPS hosting.
Check Your Current WordPress File Upload Limit
To see your site’s current cap:
- Go to Dashboard > Media > Add New.
- Look for the note under the uploader that says “Maximum upload file size: X MB.”

That number is the hard stop. If you try to upload anything larger, WordPress will reject it before the upload even starts.
I used to think these limits were arbitrary, but they’re actually there for server safety and performance. But they often get in the way of real-world needs. That’s why I almost always end up increasing the WordPress upload limit when working on my sites.
How to Increase WordPress Upload Limit
If your WordPress site won’t let you upload a file because it’s too big or exceeds the upload file size limit, you’ll need to raise the upload limit. I’ve had to do this dozens of times, and there are a few reliable methods to get it done. Here’s how you can increase the WordPress upload limit step by step:
Method 1: Ask Your Hosting Provider
The easiest thing is not to edit the system files all by yourself if you aren’t experienced. Thus, you can reach out to your hosting provider and ask them to assist you by increasing the limit. Most providers will update it for you within minutes.
Method 2: Use a Plugin
If code changes feel intimidating, plugins like Big File Uploads and Increase Maximum Upload File Size can adjust the limit from your dashboard. You can do it very fast and without any technical hassle. However, an extra plugin that is rarely used may cause unnecessary load on your website.
Method 3: Edit php.ini
This is the most direct way if you have access to your server. Open or create a php.ini file and add:
upload_max_filesize = 256M
post_max_size = 512M
memory_limit = 512M
Save, then restart your server or PHP service.
Method 4: Update .htaccess
If your host uses Apache, you can increase the file upload size limit by editing the .htaccess file. All you need to do is add these lines to your site’s .htaccess file:
php_value upload_max_filesize 256M
php_value post_max_size 512M
This tells WordPress to allow bigger uploads without touching php.ini.
Method 5: Modify functions.php
If you want to increase the limit for a theme-based solution, add this snippet to your theme’s functions.php:
@ini_set('upload_max_filesize', '256M');
@ini_set('post_max_size', '512M');
@ini_set('memory_limit', '512M');
I don’t recommend this for long-term use since switching themes could break it, but it works in a pinch.
How to Upload Files to WordPress

Some users believe that uploading files to WordPress is as simple as dragging and dropping. Well, that works for small images, but as your site grows, you’ll need a few different methods to handle documents, videos, and large uploads without breaking things. Here’s how I upload files to WordPress in various scenarios.
Upload WordPress Files Using the Block Editor
When I’m writing a blog post or page, I usually upload files right there instead of switching tabs. It’s the most basic way to upload files to WordPress. I add it right away while working on that page or post.
The process is super simple. Just get to the editor and open the blocks list. There you will find many types of blocks to upload your preferred type of media.
Uploading files using the block editor keeps my workflow simple. I can insert images into the content as I write without having to bounce back and forth.
Uploads WordPress Files Directly From Your Computer
Uploading files directly from your computer to your WordPress website is straightforward, especially for images and video files, which are often larger in size.
- Go to Dashboard > Media > Add New.
- Drag and drop your file, or click Select Files to browse.
This method supports a range of file types, including images, documents, audio, and video. It’s particularly beneficial because it allows you to upload files while working within your site’s backend.
Once uploaded, the file is stored in your Media Library, where you can retrieve its URL or insert it into posts. This method is great for adding site content quickly without using any plugins or tools.
Using FTP for Manual Uploads
Sometimes, you need to upload huge files that your WordPress media library may reject, and you require alternative methods.
Using FTP (File Transfer Protocol) or cPanel, you can upload files directly to your server (especially useful for video uploads or when integrating with cloud storage solutions). Using FTP requires an FTP client and login credentials for your hosting account.
- Connect to your server.
- Navigate to wp-content/uploads.
- Drop your files into the correct year/month folder.
You can upload files to the ‘wp-content/uploads’ directory or any other directory specified by your WordPress configuration.
Pro tip: WordPress won’t automatically “see” files uploaded this way. You need to install a helper plugin, such as Add From Server, to register them in the Media Library.
The Best WordPress File Upload Plugins
Sometimes you want to manage your own files quickly, let users submit content, or struggle with the WordPress upload limit. WordPress offers numerous plugins to address these issues.
These plugins solve a specific pain point, whether that’s managing large media libraries, collecting user-generated content, or uploading massive files without hitting limits.
Big File Uploads

Big File Uploads is a lifesaver when you’re dealing with oversized files that WordPress usually blocks. You can upload videos, audio, or design assets that are multiple gigabytes in size using Big File Uploads. I use it for sites that host tutorials or podcasts where the standard 64MB or 128MB limit just isn’t enough. It removes the frustration of chopping files into smaller pieces.
File Manager

File Manager allows you to manage everything inside WordPress like it’s your own mini cPanel. You can upload files straight into folders, move or copy them, and even edit them without using FTP. It’s super helpful when you want to replace a file or reorganize media uploads without leaving your dashboard. I often use it when I need to transfer files but don’t want to deal with the stress of using FileZilla. It saves me time and keeps file management central.
User Submitted Posts

User Submitted Posts is a great WordPress plugin that allows users to contribute content to your site. Your visitors can upload photos, PDFs, or documents while submitting posts. It’s a low-barrier way to collect user-generated content without requiring them to create author accounts. You receive fresh uploads, and users can share their work in a structured way.
Fluent Forms

Fluent Forms makes it easy to collect files such as PDF, DOCX, and JPG, as well as similar file types. A customer can upload a screenshot with their support ticket, or a client can attach brand assets when filling out a project brief. Since the upload is built into the form flow, it feels simple for users. You can customize the form using Add-ons and add a File Upload button to the form.
How tp Optimize Your WordPress Uploads for Performance

Over the years, I’ve learned that uploading files is only half the job. The bigger challenge is keeping your WordPress Media Library clean, fast, and secure. If you don’t, it becomes a slow and chaotic setting that drags down performance. Here are the practices I follow on every site I manage.
Optimize Images Before Upload
Uploading raw, large images is the quickest way to bloat your website. I always compress them first using ShortPixel or save them in WebP format. It maintains sharp image quality while keeping file sizes light. Even on big blogs, I’ve seen this cut page load times in half.
Never Host Large Videos Directly
One of the biggest mistakes you can make is uploading larger videos straight into WordPress. Large videos eat up your server space, slow down your site, and often crash on shared hosting.
Instead, I always offload to cloud platforms like Infinite Uploads. However, you can also upload them to YouTube or Vimeo and then embed them.
However, if you have a professional site or an LMS, I recommend using plugins like Infinite Uploads, which assist with both cloud storage and video streaming. Just try it for free and you will see what it can do for you.
Keep Your Media Library Clean and Organized
A cluttered WordPress Library makes content management a painful experience. Using plugins like FileBird or WP Media Folder can help you sort out your uploads into folders. I take naming files descriptively with a proper structure, such as “wordpress-file-upload-guide-2025.jpg.” It saves me a lot of time looking for media when I need to replace it.
Use a CDN or Cloud Storage for Large Sites
If your site is heavy on media, don’t make your hosting server do all the work. Because the servers are located somewhere, but your website delivers data worldwide. I use CDNs (Content Delivery Networks) to serve files from global servers.
If you use plugins like Infinite Uploads or offloading to Amazon S3/Google Cloud, you can free up hosting space and deliver files faster to visitors. For video-heavy sites, this is a must-do thing.
Use Security Practices for WordPress Uploads
Your WordPress uploads folder is a popular target for attacks as it contains all the valuable materials. I always restrict file types to only what’s necessary and scan uploads with a security plugin like Wordfence or iThemes Security.
I am aware that the possibility of an attack is very low, but not impossible. But if it ever happens, I might be in big trouble. I also block PHP execution in the wp-content/uploads folder so malicious scripts can’t run there. These small steps make a huge difference in keeping the site safe.
Infinite Uploads
Easily manage and deliver your media with a seamless solution that simplifies video streaming optimizers storage, and ensures fast, reliable content delivery for your WordPress site.
Purchase PluginHow to Protect The WP-Content Folder
TYour wp-content folder is the heart of a WordPress site. It holds your themes, plugins, and every single upload, which also makes it an attractive target for attackers. Over the years, I’ve developed a few habits that help keep me safe.
1. Always back it up.
I never skip backups of wp-content. If anything breaks from a bad update to a malware injection, restoring that folder gets me back on track fast. I use the automated backup plugin UpdraftPlus. So I don’t have to think about it.
2. Rename it for extra security.
Most attacks are automated, and they look for the default wp-content path. By changing the folder name in wp-config.php, I make it harder for bots to find. It’s not foolproof, but it adds one more wall between my site and trouble. Well, I won't share the changed name, although!
3. Restrict direct access
Even renamed folders can leak data if left wide open. I block direct access to PHP files inside wp-content while still allowing images, CSS, and videos to load normally. A few simple .htaccess rules (or NGINX equivalents) do the trick.
How to Troubleshoot Common WordPress Upload Errors
Even after optimizing and securing uploads, WordPress errors can still show up. I’ve encountered these issues numerous times, and while they’re frustrating, the fixes are typically simple. Here are the most common problems I encounter and how I primarily resolve them.
1. The File is Too Large
It's the most common error I face. WordPress blocks the upload when the file exceeds the limits set in PHP (upload_max_filesize or post_max_size). To fix it, I increased those limits in php.ini, .htaccess, or through my hosting control panel as I mentioned them earlier in this post. Once the cap is lifted, the error disappears.
2. File Type Not Permitted
WordPress only allows certain file types by default for security reasons. If you try uploading something like an SVG or an uncommon document type, you’ll see “Sorry, this file type is not permitted.” I usually resolve this issue by using a plugin like WP Extra File Types, which allows me to safely expand the list of allowed formats. You can either use the same plugin or pick another similar one.
3. Upload Fails Completely
If uploads don’t work at all, it usually comes down to file or folder permissions. It’s not a bug, but rather a restriction. You need to give WordPress the correct server permissions to store files:
- Folders should be set to 755
- Files should be set to 644
I adjust these via FTP or my host’s file manager. Without these settings, uploads either fail silently or create security risks.
4. Hosting Storage Limits
Sometimes the problem isn’t WordPress, but the hosting. Usually, on the shared hosting plans, hitting your storage limit means uploads stop working. My go-to fix is offloading the whole video section to Infinite Uploads. This keeps my hosting light and my site fast.
Top Plugins for Handling Large Media Uploads
When your site starts handling heavy media, such as videos, podcasts, or large image libraries, the default WordPress setup often falls short. Besides, the hostings quickly run out of space, and your site slows down.
That's why I rely on media offloading plugins. These tools move files to the cloud, connect to CDNs, and ensure that the uploads don't compromise performance.
Here are the WordPress plugins I found useful:
Infinite Uploads

Infinite Uploads lets me move the entire WordPress Media Library to the cloud. I have used it for video-heavy sites where storage limits became a constant problem. It also includes a global CDN with over 100+ locations and adaptive video streaming (HLS), which enables videos to load quickly and play smoothly without overloading the server. I have used it for membership sites where YouTube was not an option. It handles encoding and device optimization automatically, which saves a lot of time during setup.
WP Offload Media

This plugin should be your choice when you want uploads stored directly on cloud services such as Amazon S3, DigitalOcean Spaces, or Google Cloud. It automatically offloads new uploads and rewrites URLs so files load from the cloud instead of my server. But, it's a lot more complex to setup, and the pricing every month can be unpredictable. I've seen many customers with out of control bills.
BunnyCDN

BunnyCDN works with WordPress to store and deliver media at high speed. I often recommend it for projects that need global delivery but also have budget constraints. However, I prefer using Infinite Uploads over this, as it comes with a built-in CDN.
Jetpack VideoPress
If you already use Jetpack, VideoPress is an easy way to host and stream video directly inside WordPress. I use it for videos that need 4K, 60 FPS, chapters, or subtitles and YouTube isn't an option.
Choose the Right Upload Strategy for Your Site
Managing WordPress uploads is about selecting the most suitable approach for your workflow, hosting limits, and the type of content you want to share on your website.
A small blog might only need the Media Library, while a growing business site benefits from cloud offloading or a CDN. Video-heavy sites almost always require a specialized solution. So you need to assess your situation and make the necessary call.
The key is to match your upload strategy with your goals. Keep performance in mind, secure your wp-content folder, and stay organized in the Media Library. Once you set up the right system, uploads stop being a headache and start working as an advantage for your site.


